Carrot Zucchini Muffins

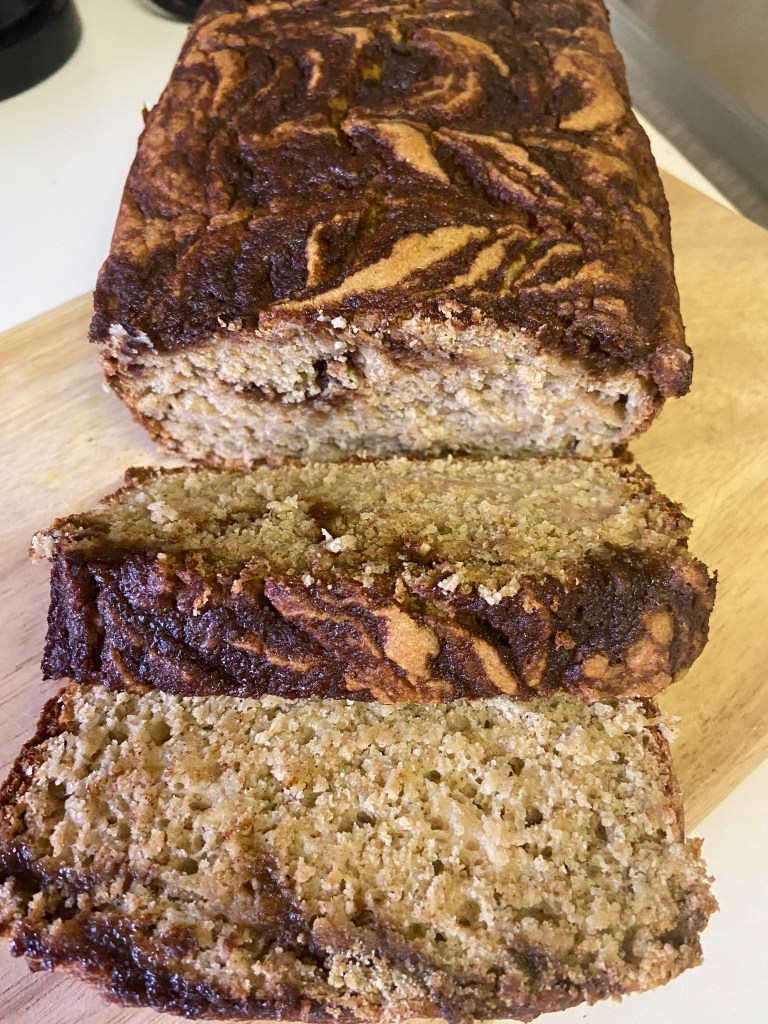
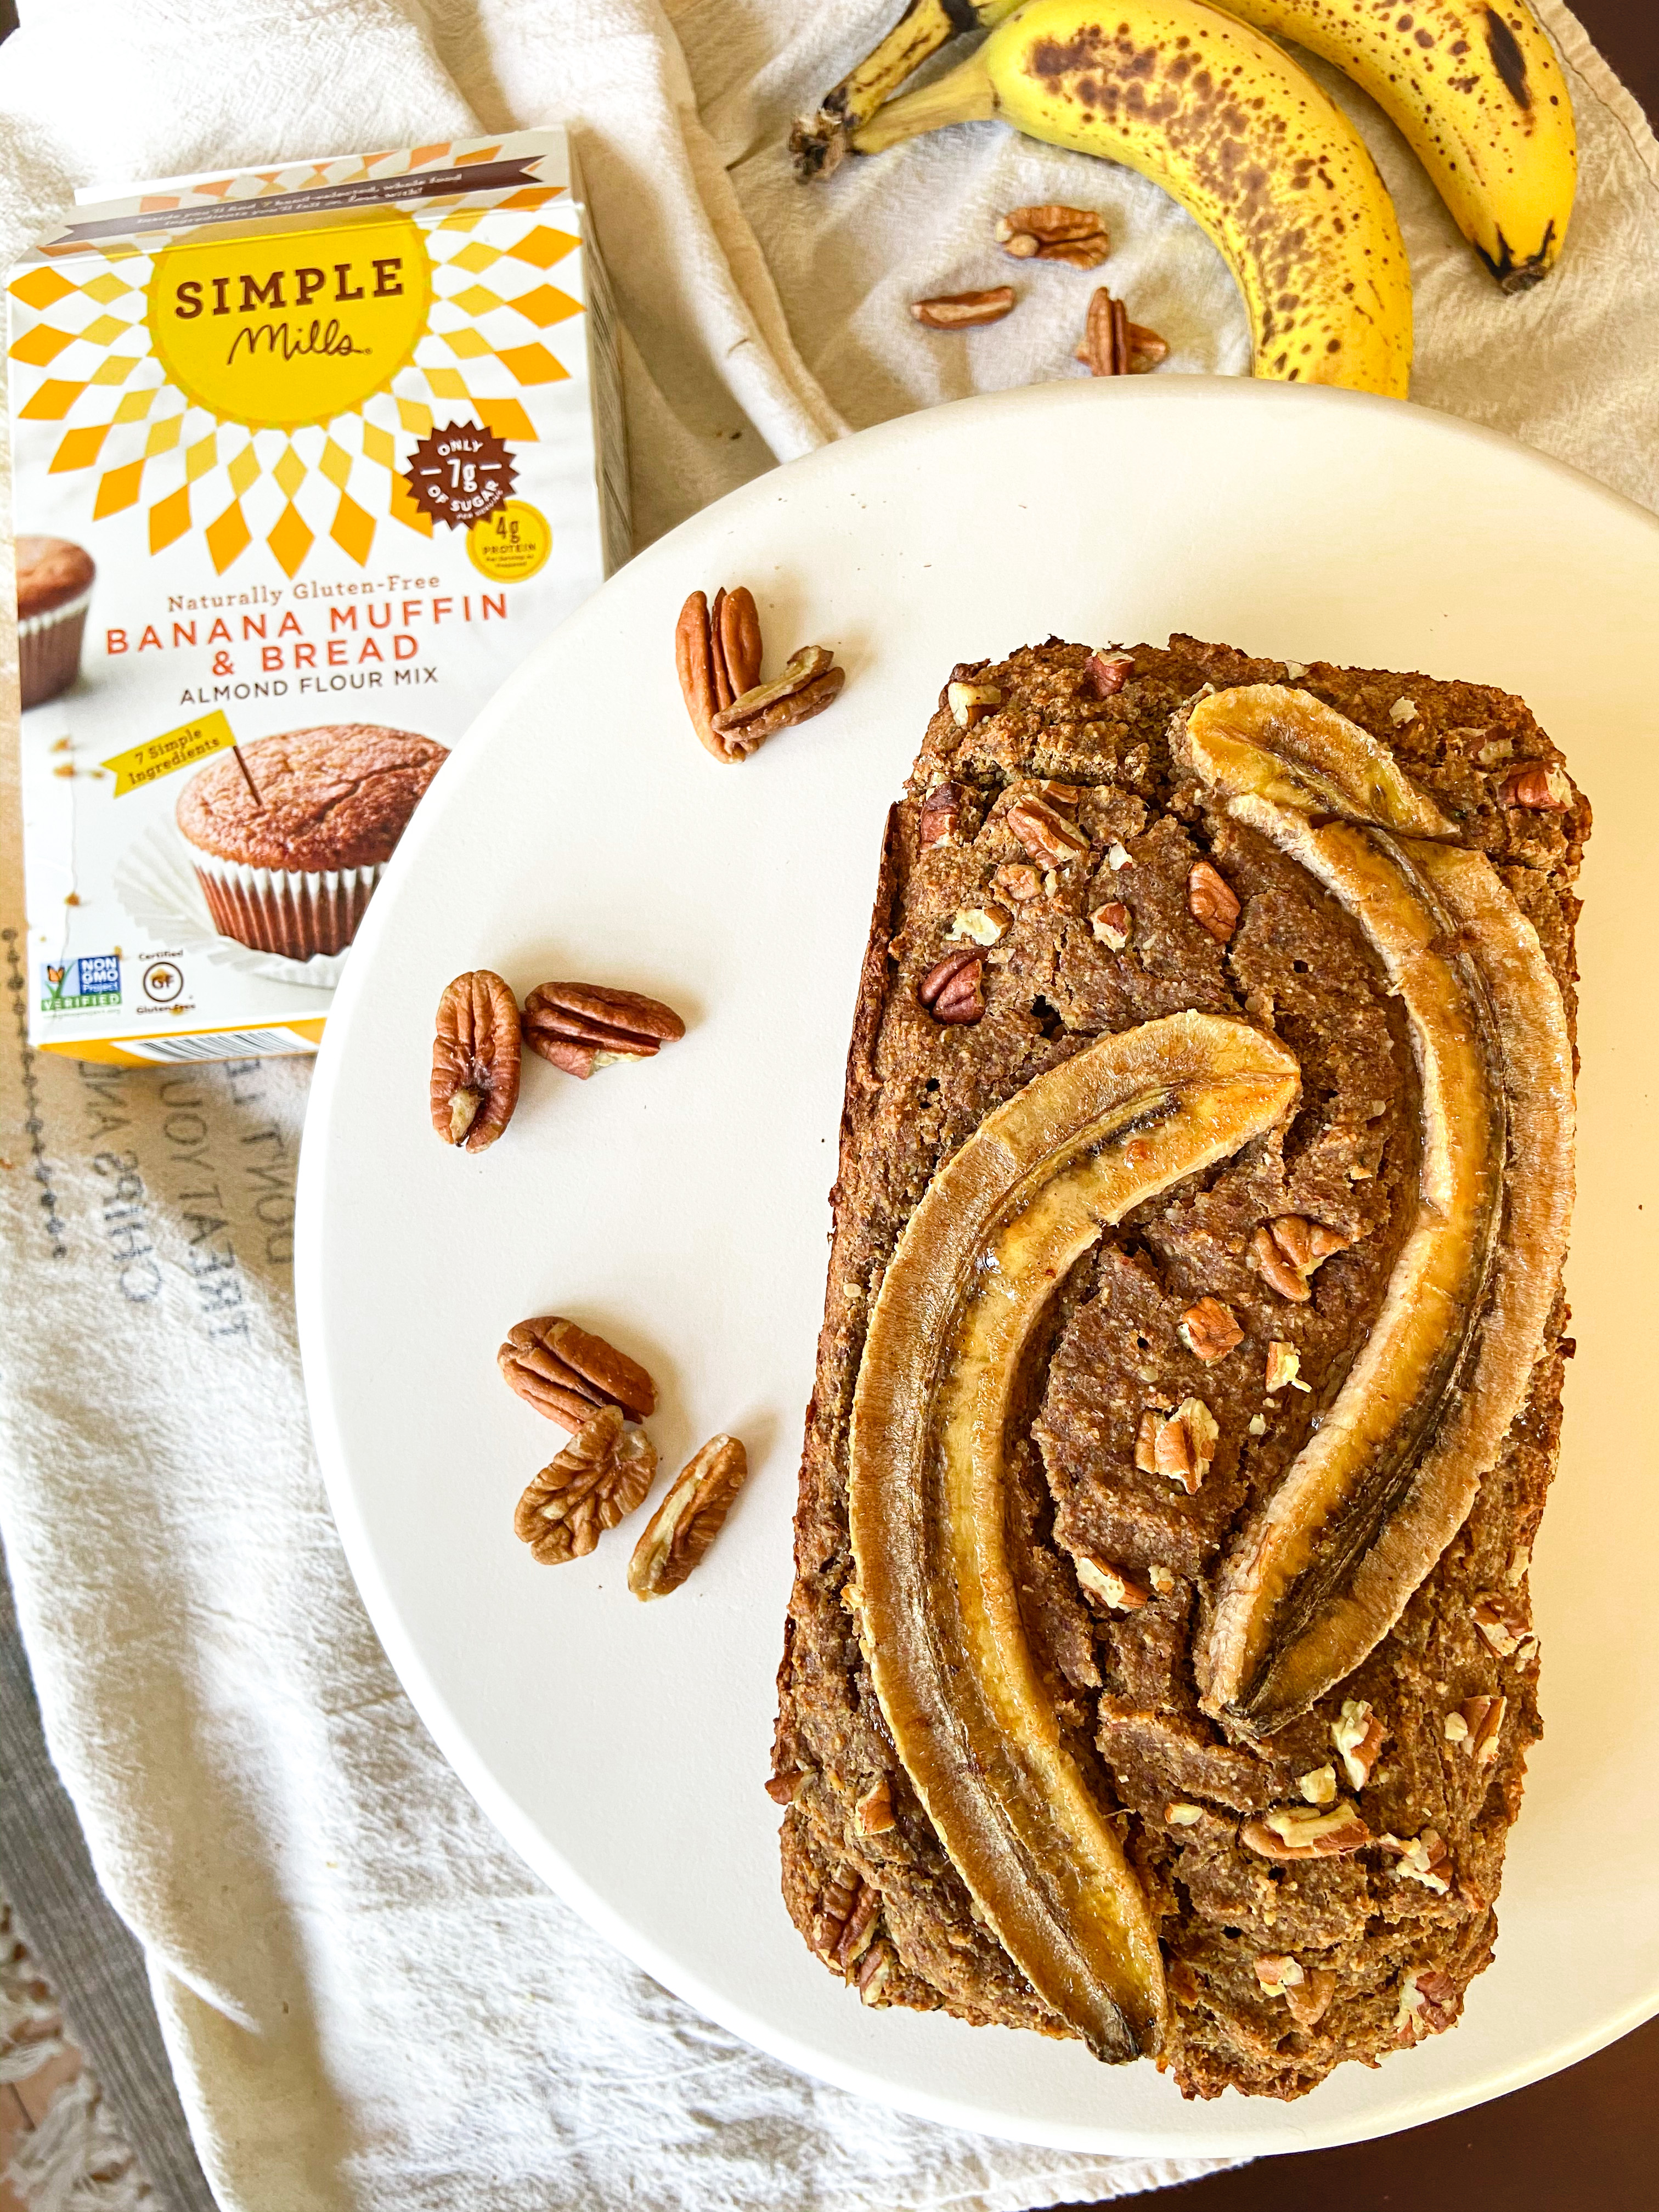
Confession, sometimes I have a hard time falling asleep because I have so many recipe ideas running through my head or I’m super excited to bake something the next day (pretty strange I know!). Well that was definitely the case with this recipe. I knew I had some zucchinis in the fridge that I needed to use up and I originally thought to make a zucchini walnut loaf which I was pretty excited about but then I decided to switch it up to muffins.

IMG_2369


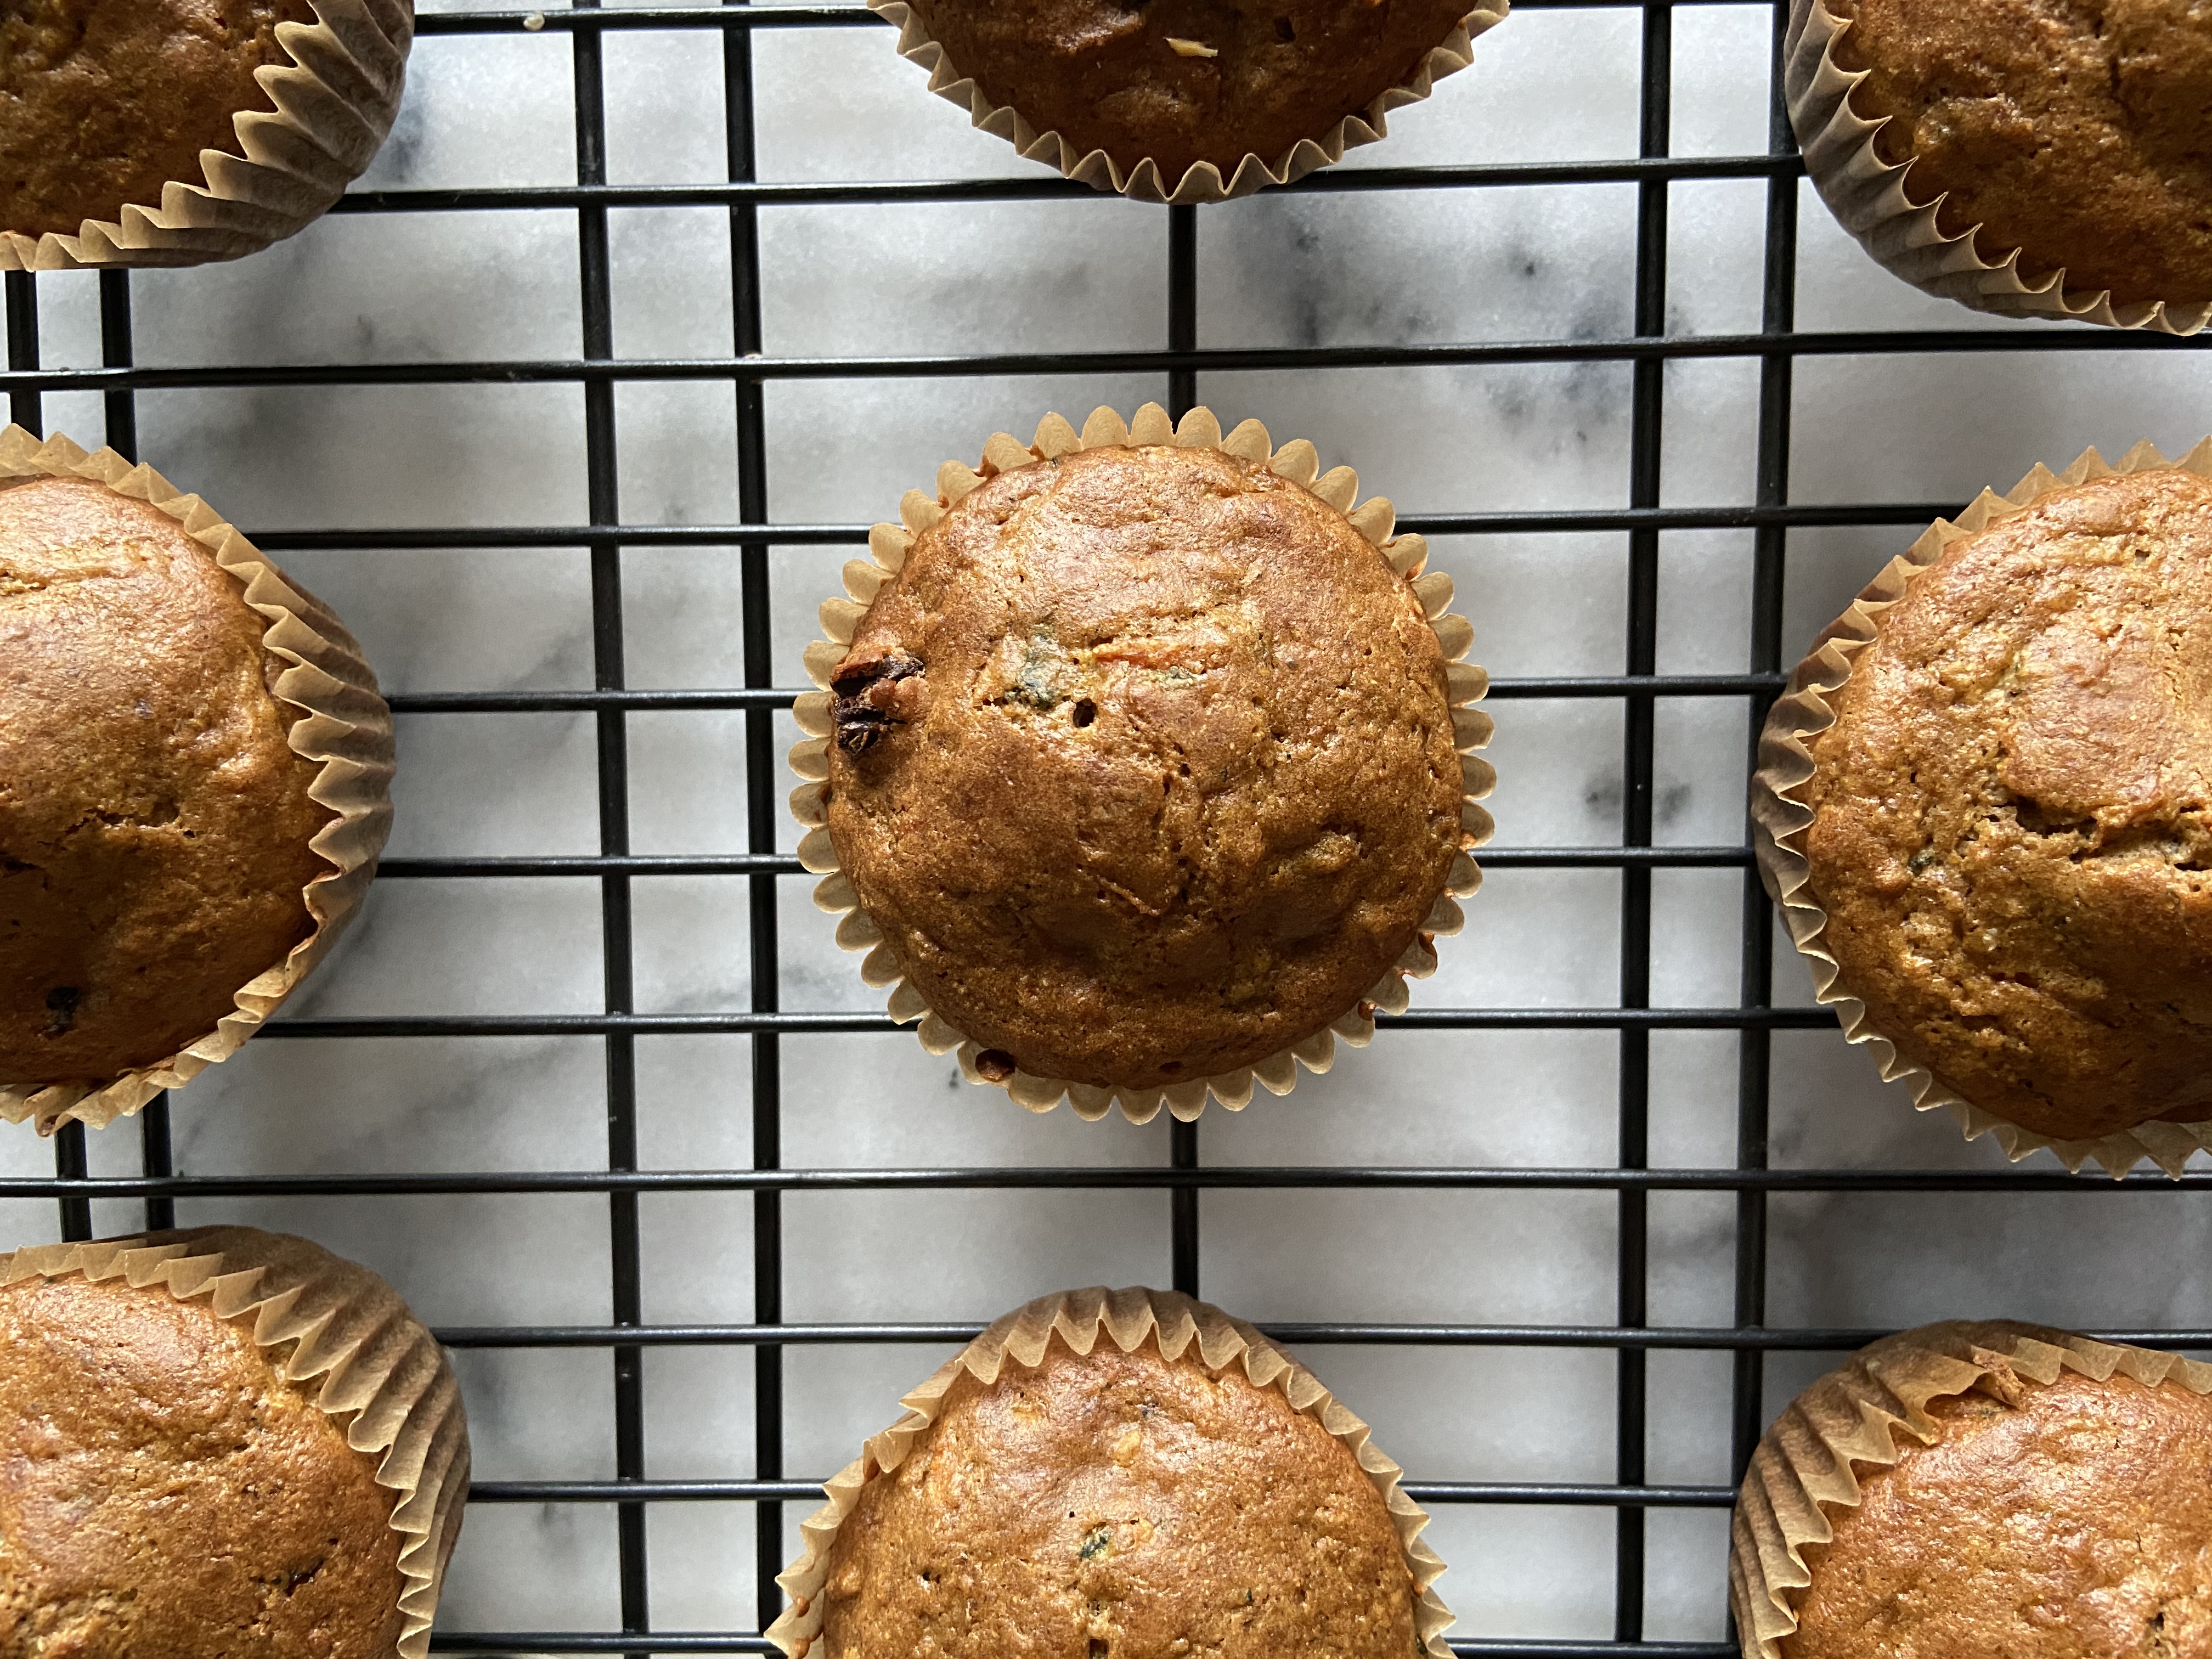
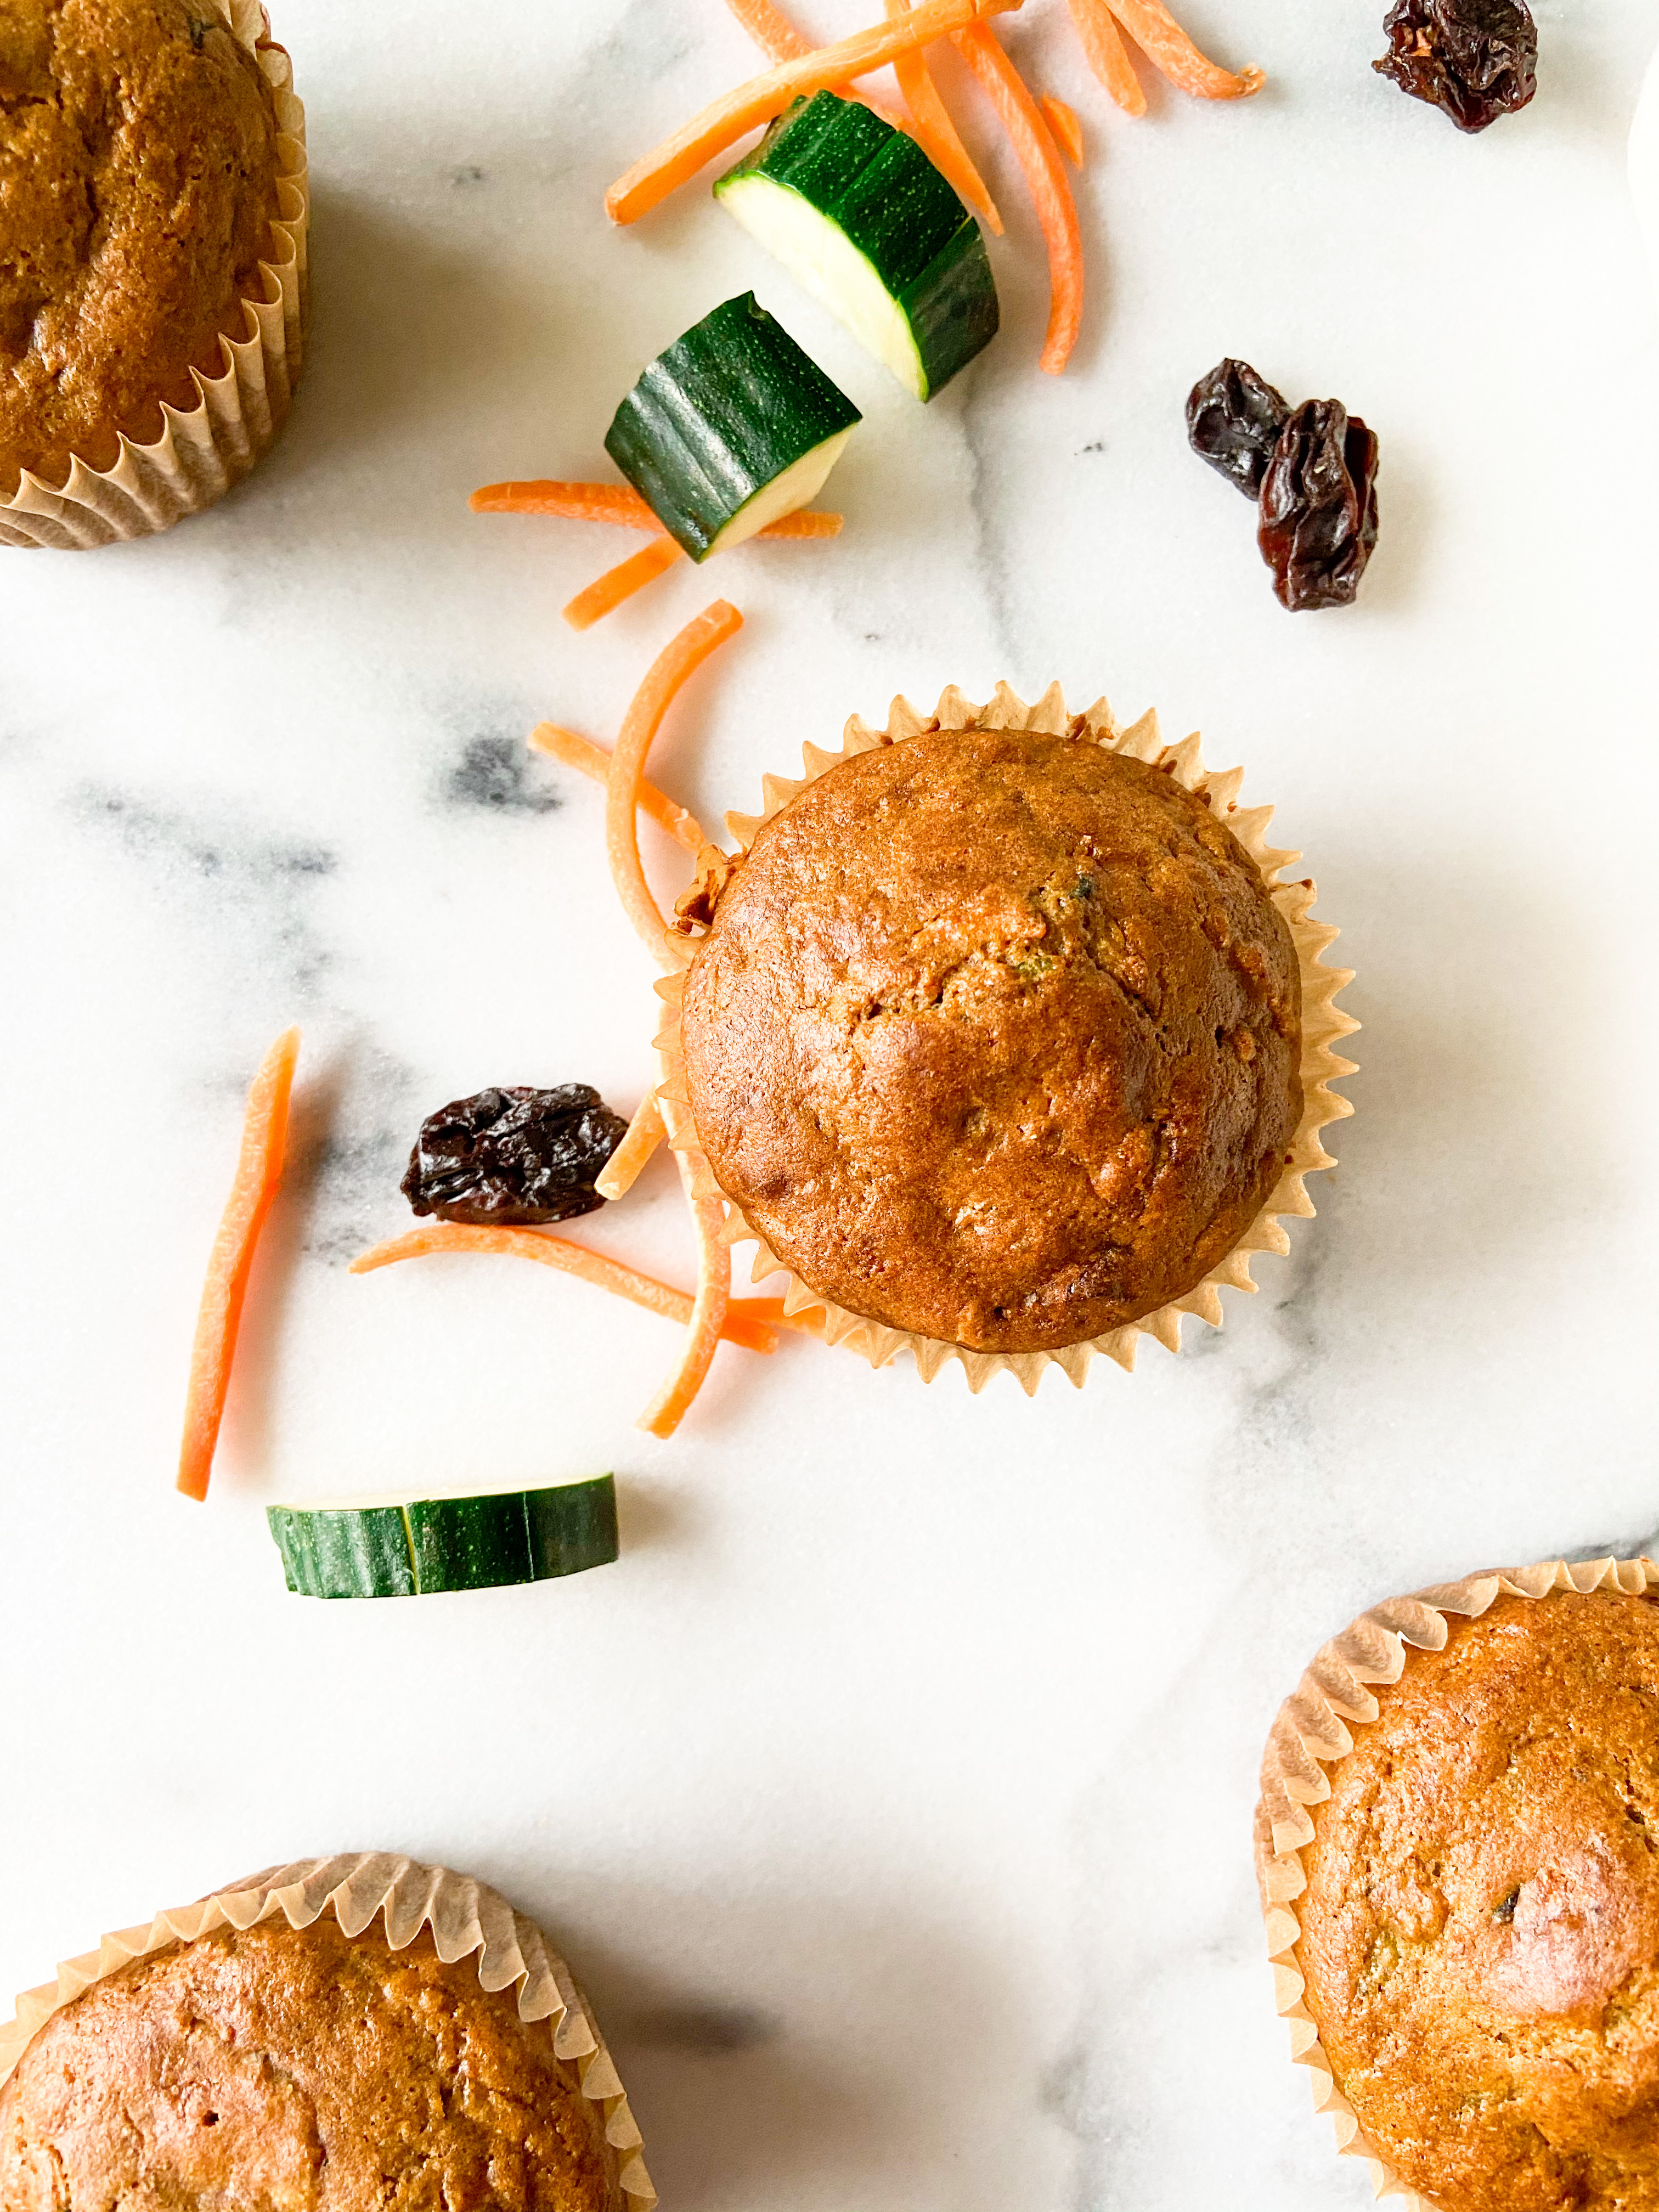
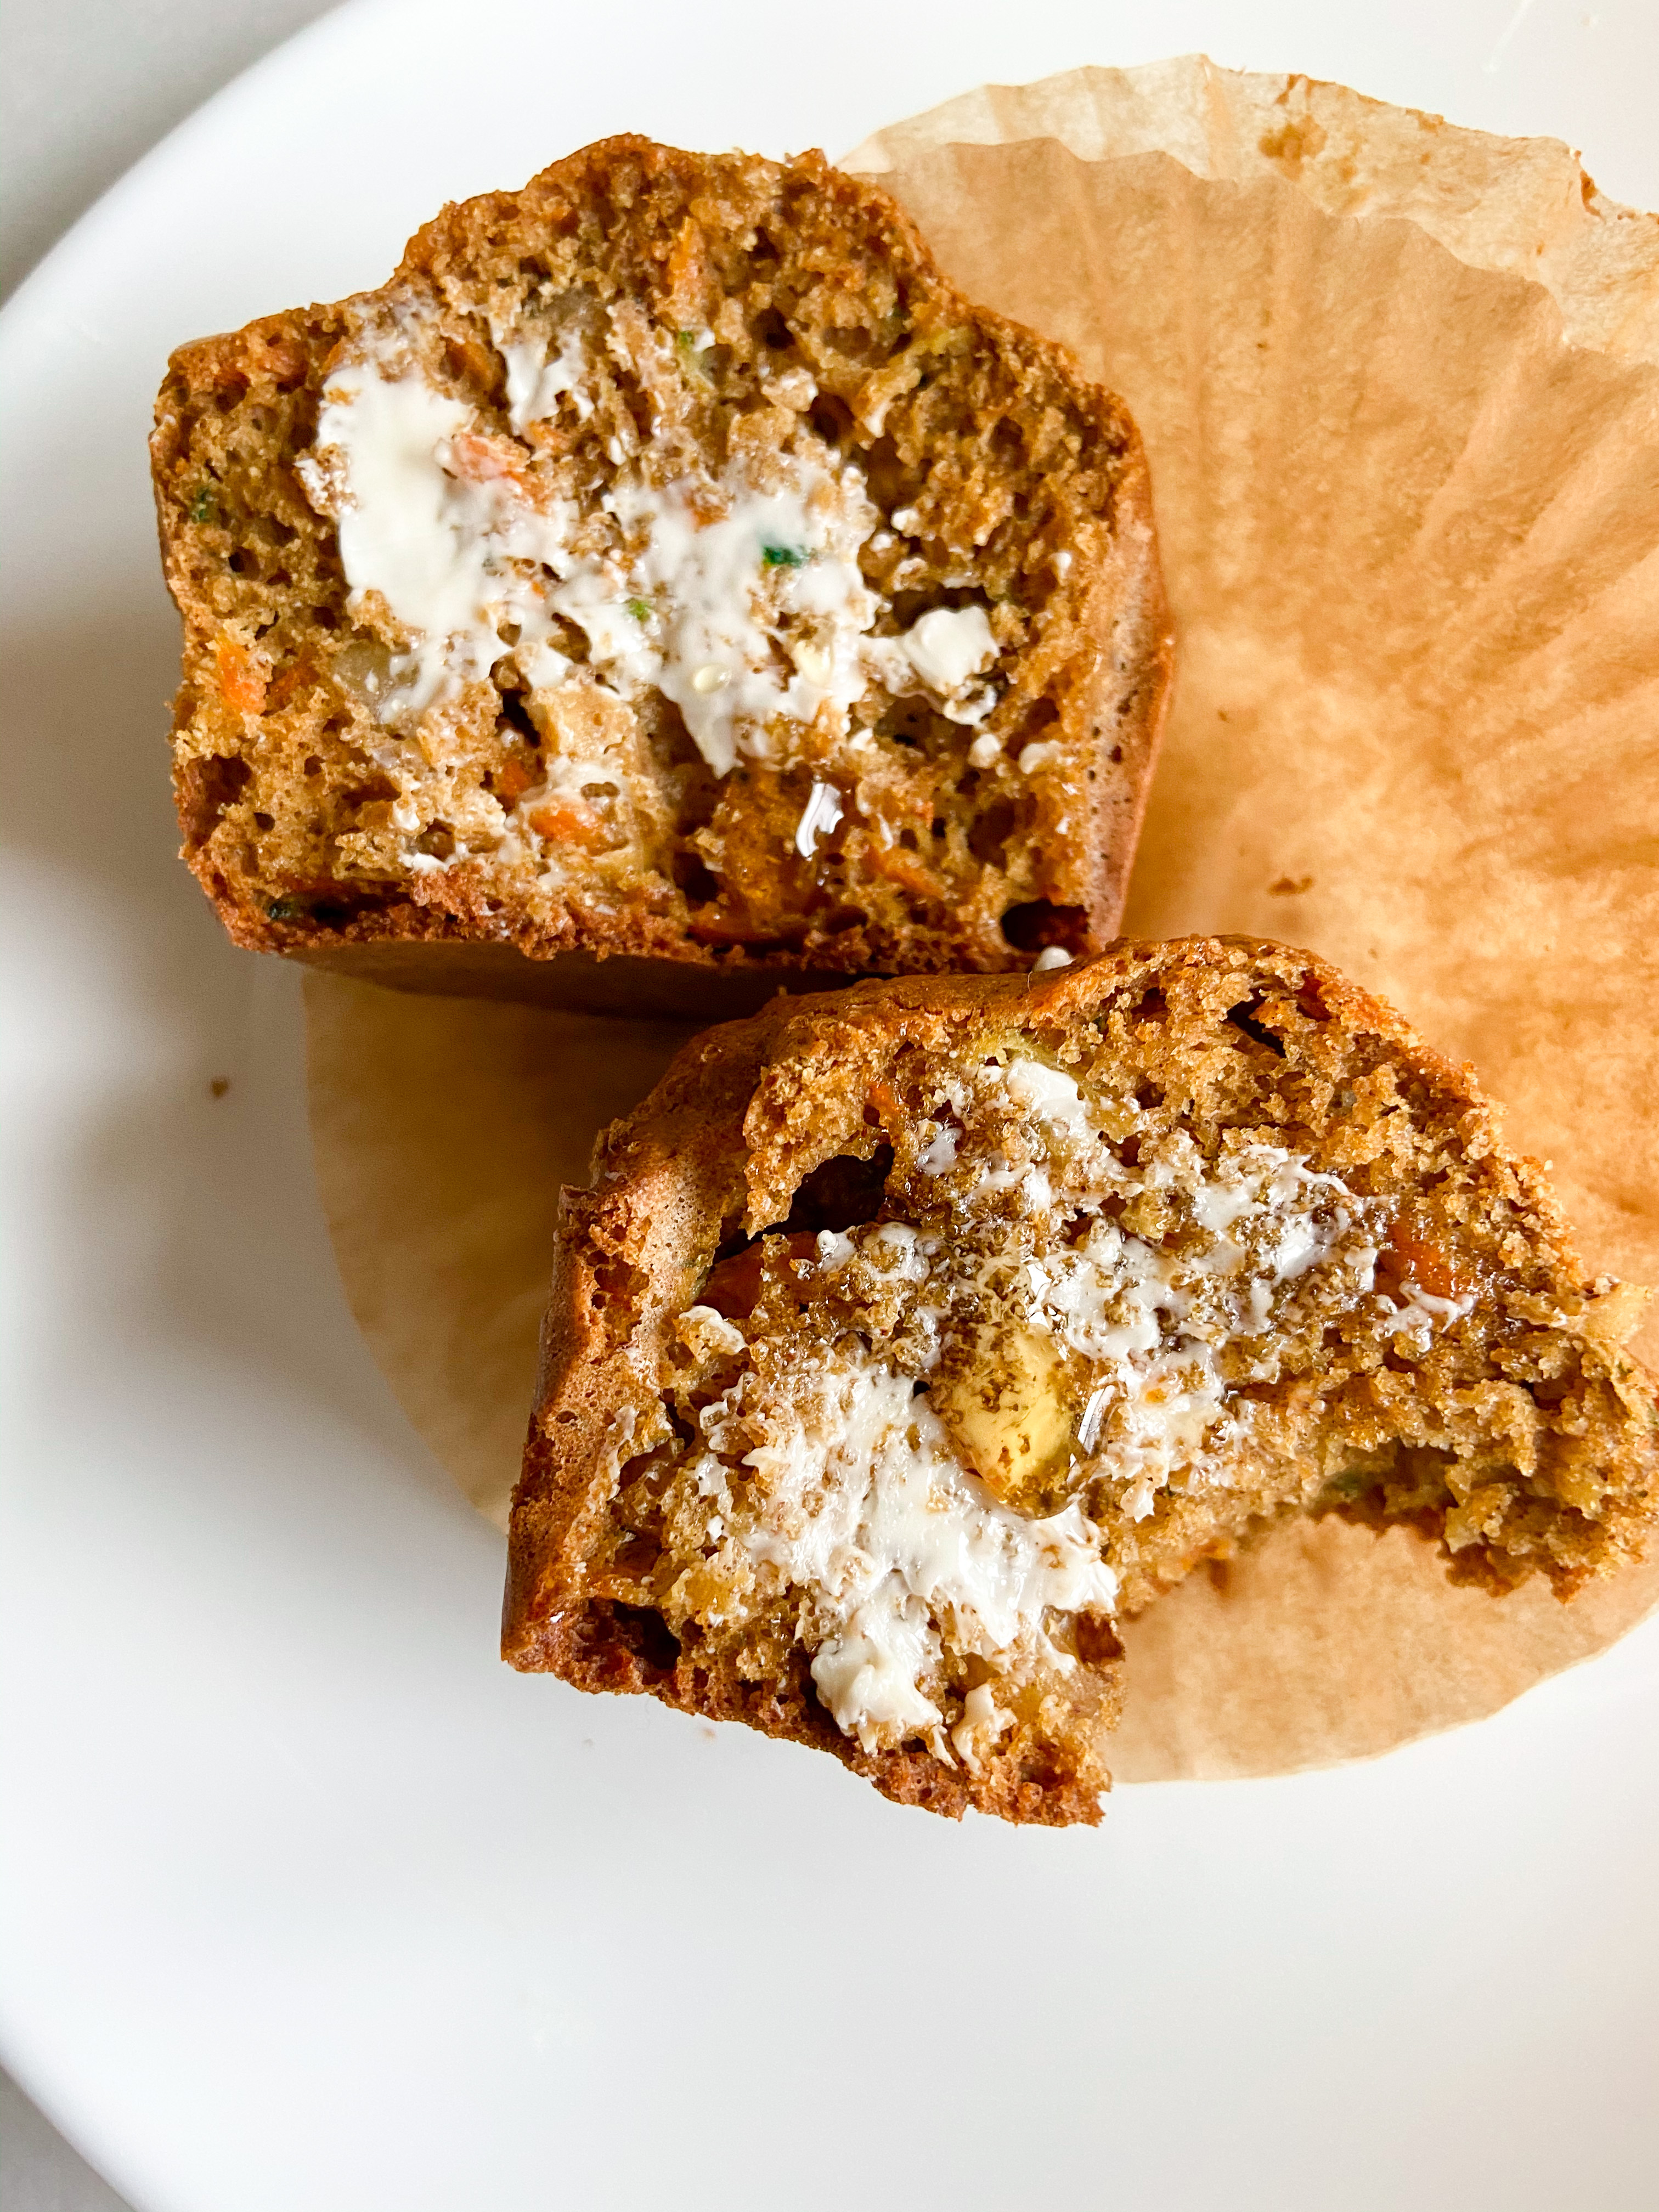
The next day I wanted to add a carrot cake vibe to these muffins and decided to add in shredded carrots, raisins and lots of spices! After tasting the first one I was hooked – a little butter and honey took them to the next level. These muffins are not too sweet that they could make the perfect breakfast complement to some fruit or a quick snack. 

IMG_2364


IMG_2368

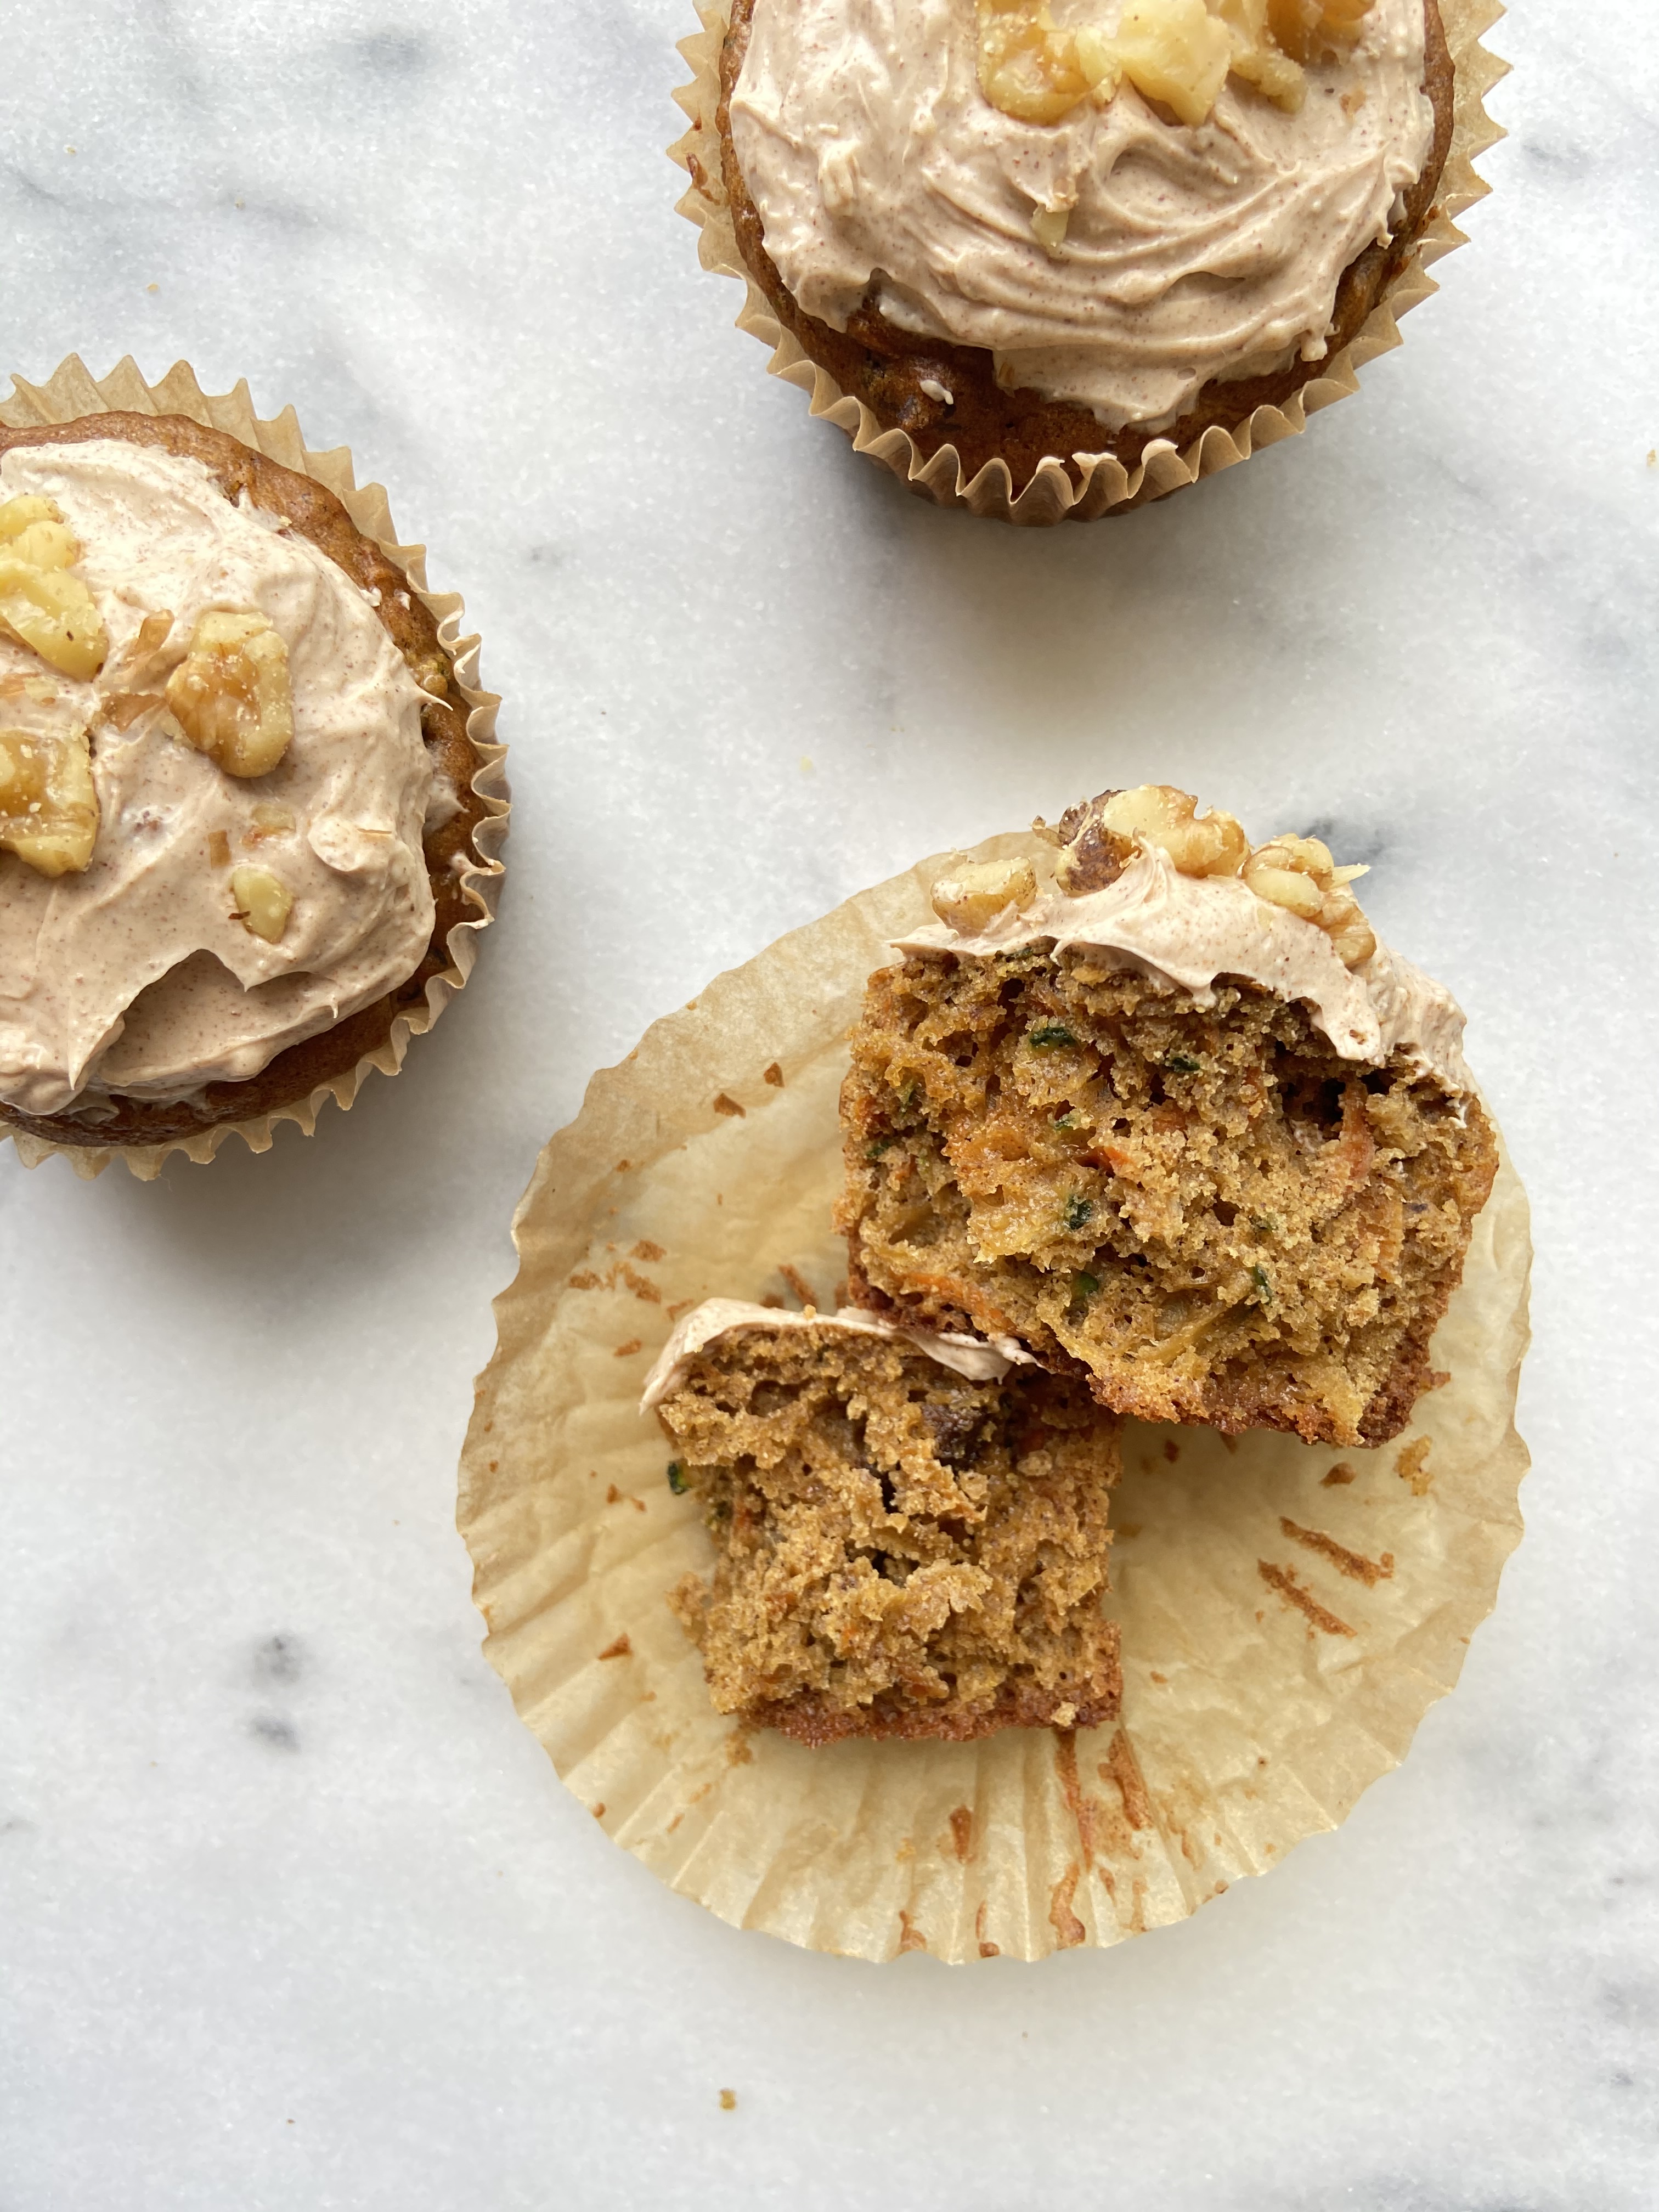
However I knew they could also be a great sweet treat or dessert with a little frosting. Going with the carrot cake inspo, I decided I’d go with a cream cheese frosting. If you would like a sweeter muffin, this cream cheese frosting perfectly complements these muffins. This frosting recipe below is just enough for 4-5 muffins, so if you would like them all frosted just double the recipe! 

IMG_2453


Recipe

Ingredients

Wet Ingredients

  • 1 cup shredded zucchiniIMG_2388
  • ½ cup shredded carrot
  • 3 medium eggs (can use 2 large eggs)
  • 3 tbsp applesauce 
  • 2 tbsp olive oil or melted coconut oil
  • 1 tsp vanilla
  • ½ cup coconut sugar

Dry Ingredients

  • 1 ½ cup gluten free flour (I like Bob’s Red Mill)
  • 1 tbsp cinnamon
  • ½ tsp nutmeg
  • ½ tsp ground ginger
  • ¾ tsp baking soda
  • 1 tsp baking powder
  • ¼ tsp salt
  • ½ cup walnuts
  • ¼ cup raisins

Maple Cinnamon Cream Cheese Frosting

  • ¼ cup cream cheese – softened
  • 1 tsp cinnamon
  • 1 tbsp maple syrup
  • 1 tsp vanilla
  • Walnuts for topping

Instructions

  1. Preheat your oven to 350F and line a muffin tin. You should have 12 standard muffins from this recipe. 
  2. First you will want to remove excess liquid from your shredded zucchini. I like to leave the skin on the zucchini for some extra color! Once you measure out a cup of shredded zucchini you will wring it out to remove extra liquid. You can do this by using a cheesecloth or lining up a couple of paper towels and placing the zucchini in the middle of them, bundle it up and squeeze. Once you have the zucchini wrung out, place it in a large bowl with your shredded carrots. 
  3. Add in wet ingredients to shredded carrots and zucchini: eggs, applesauce, oil, and vanilla until well combined. 
  4. Add coconut sugar to the wet ingredient mixture and mix until well combined.
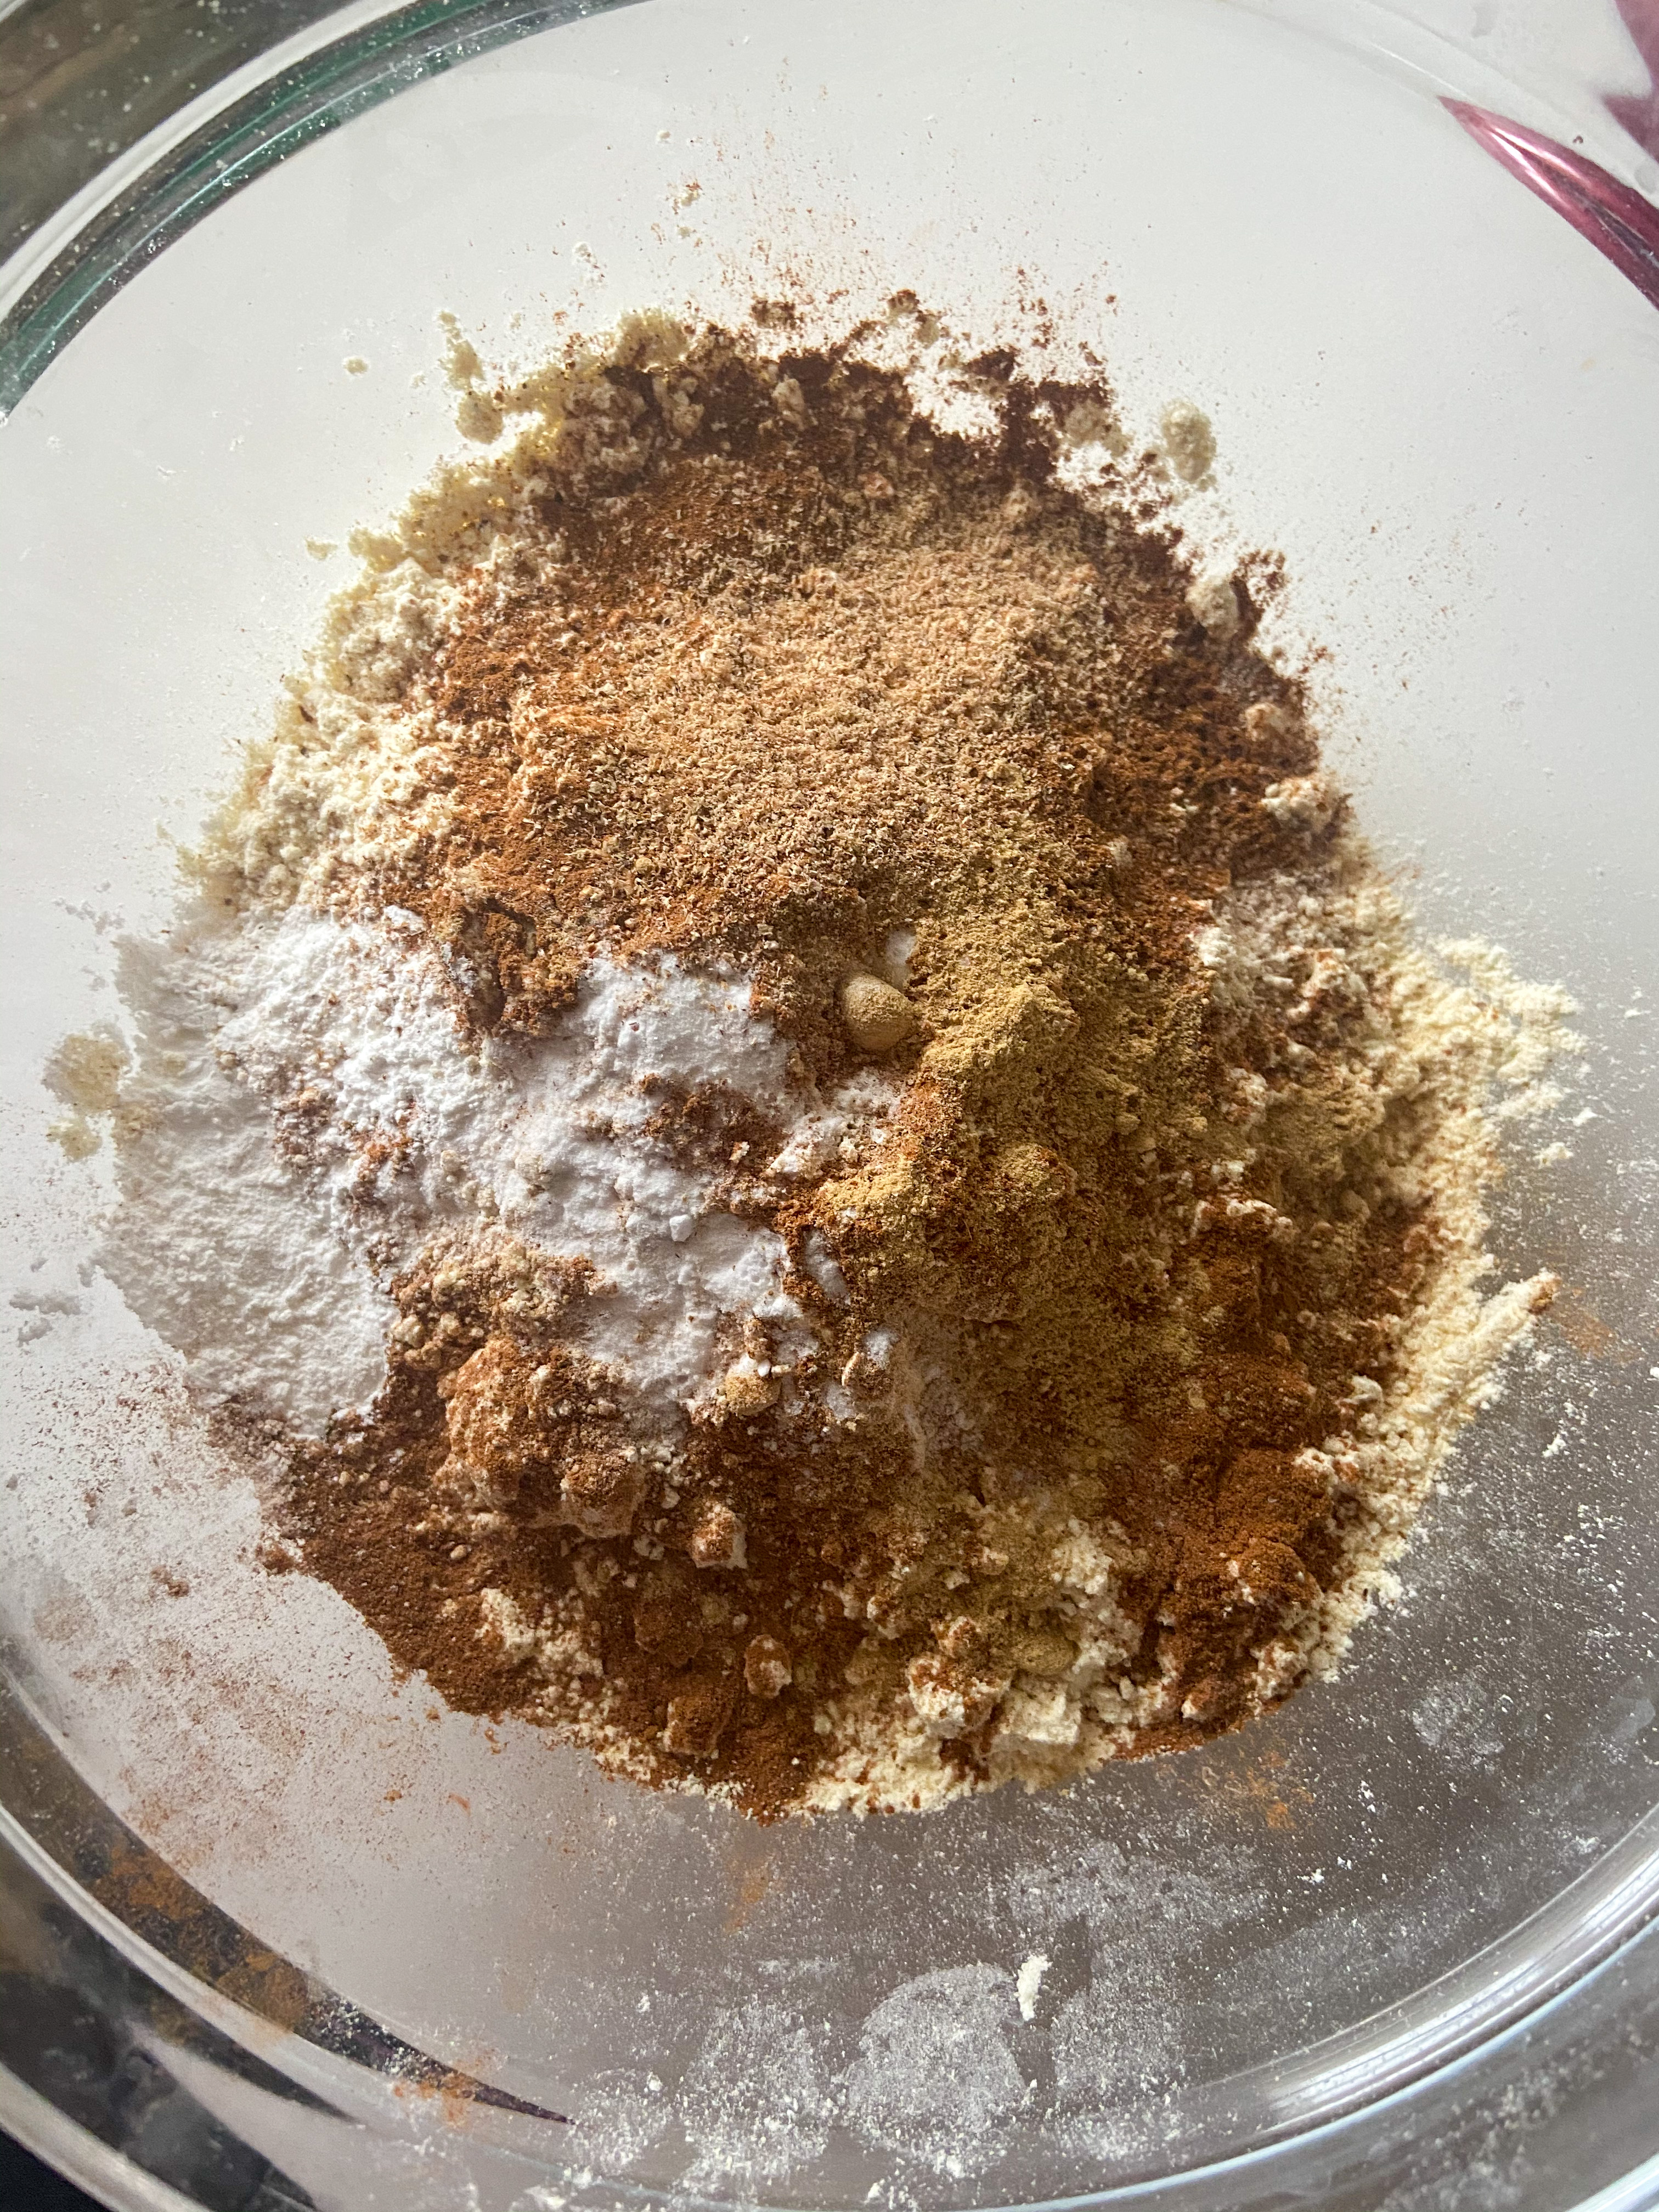
  5. In a separate bowl, whisk together the dry ingredients: flour, baking soda, baking powder, cinnamon, nutmeg, ginger, and salt. Combine until you can tell the spices are evenly mixed into the flour. 
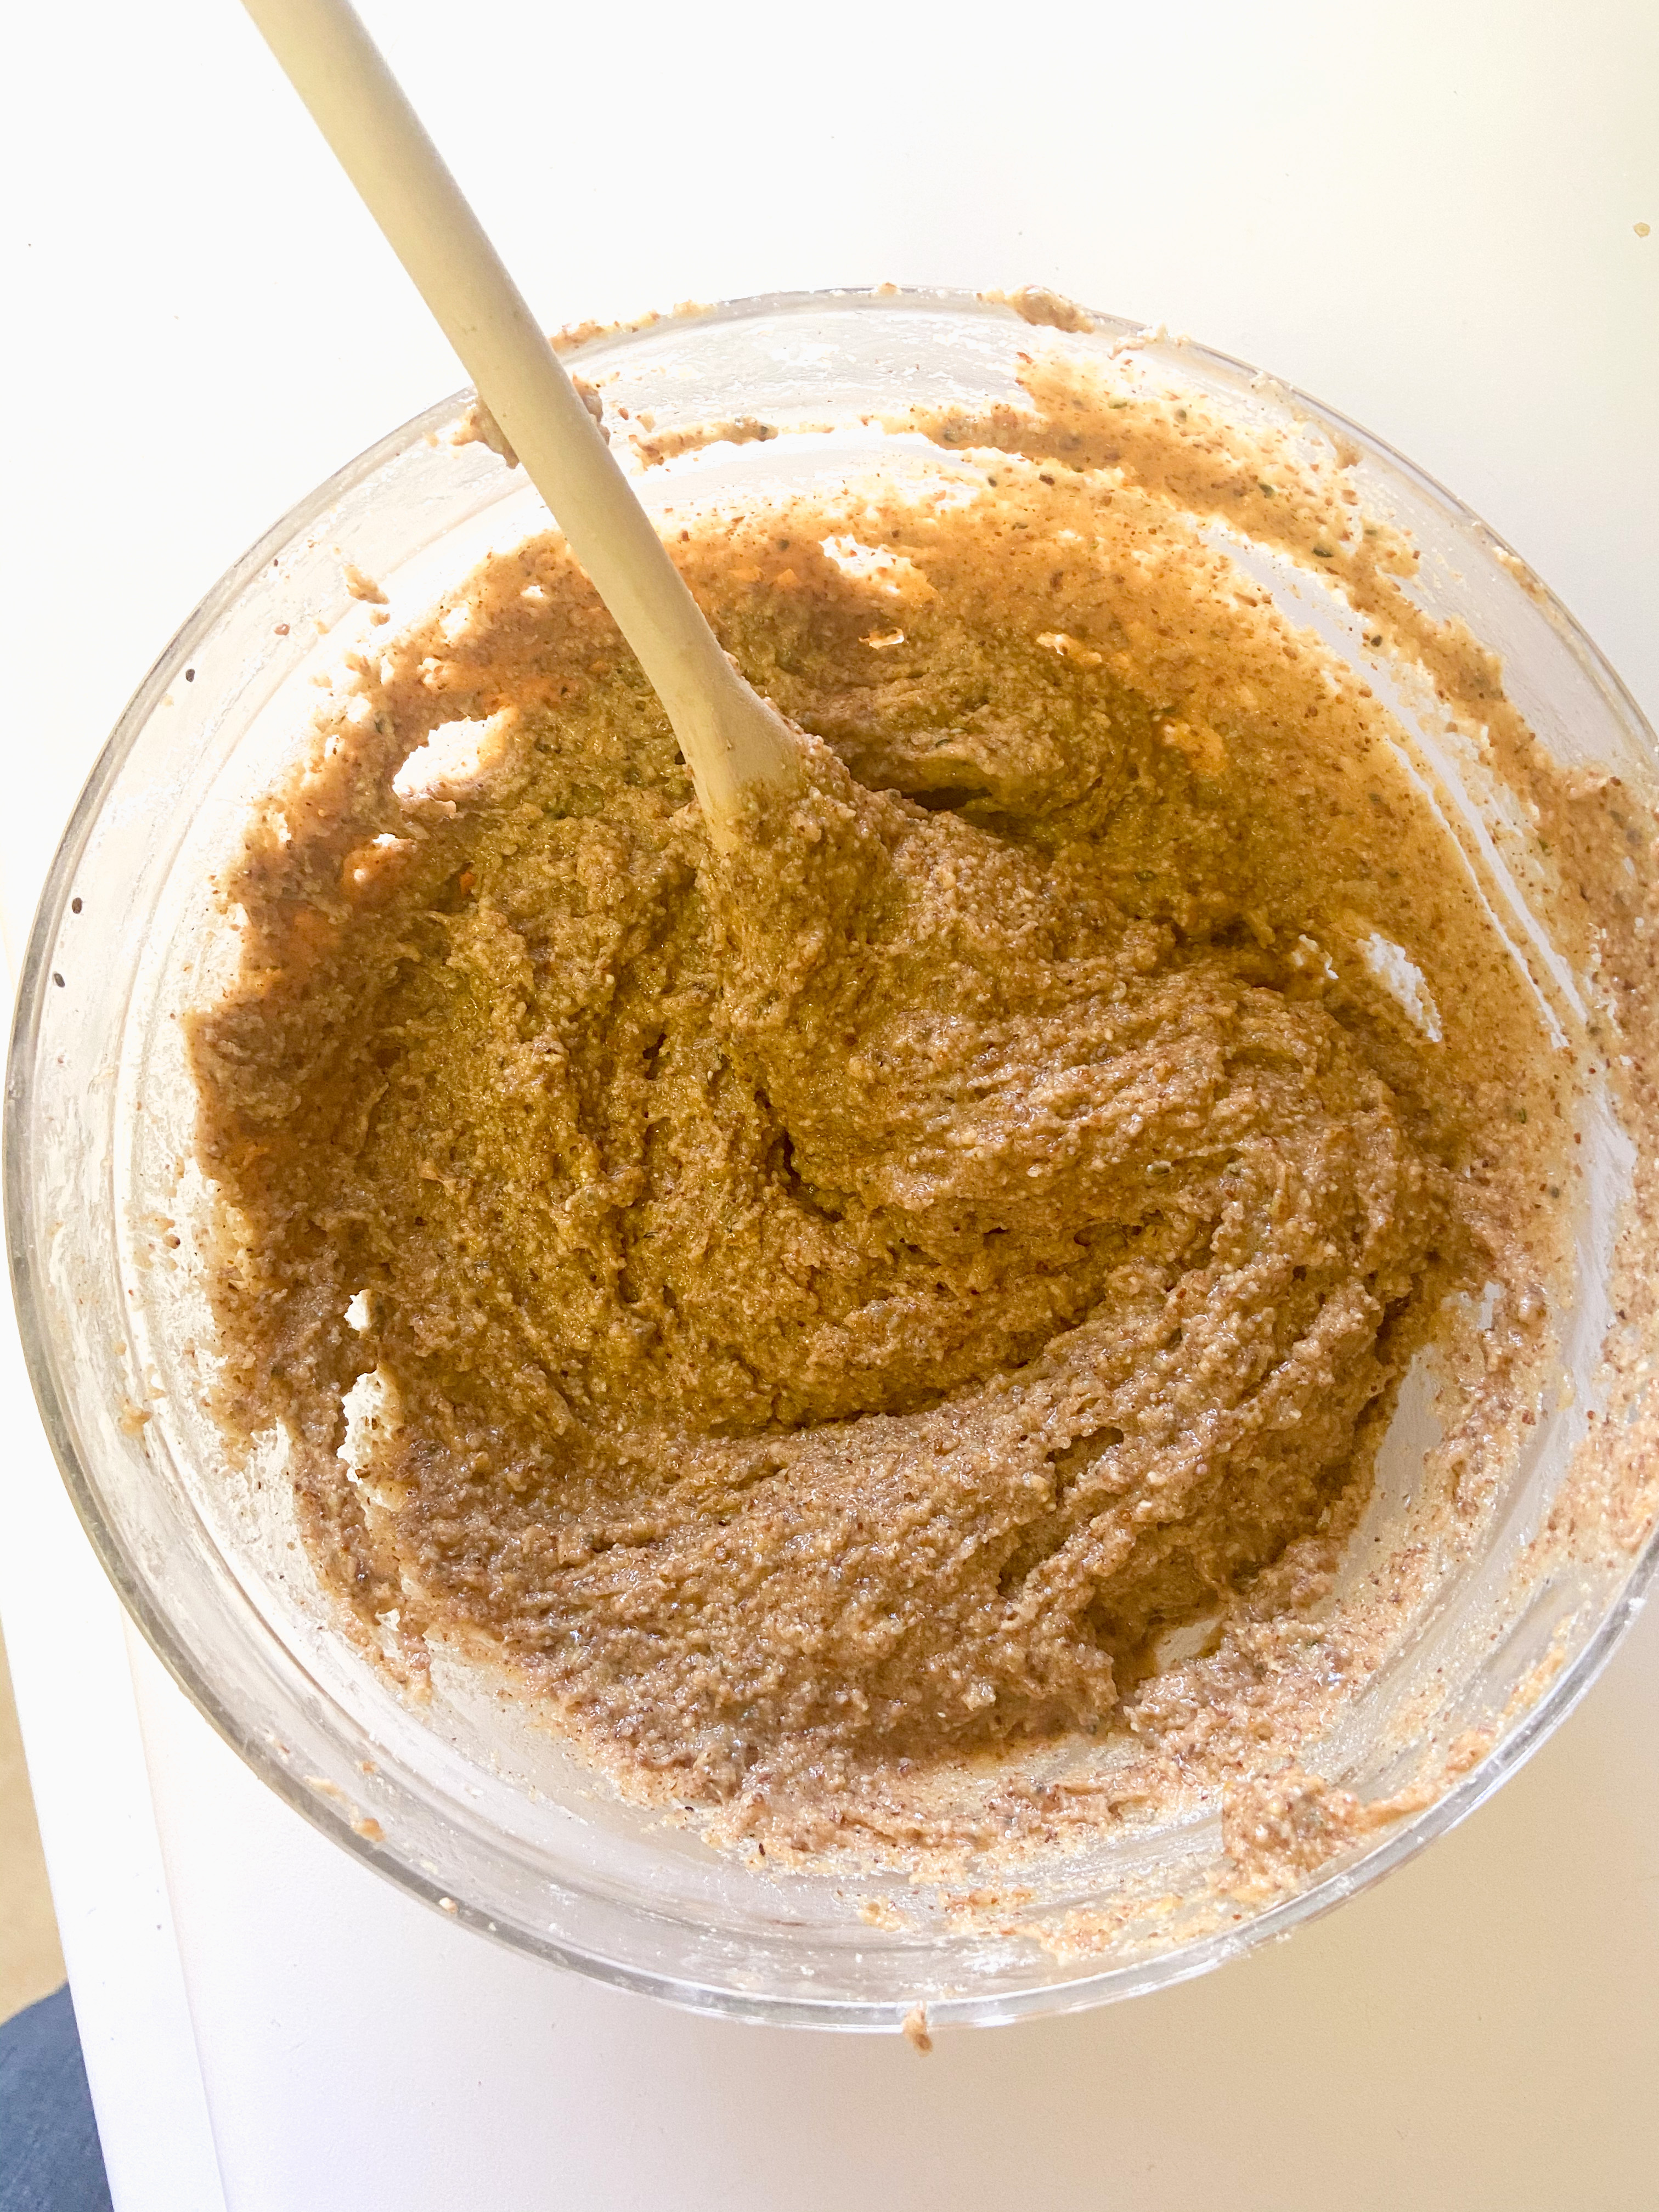
  6. Add in dry ingredients to the wet ingredients. Do not overmix. The batter will be a bit thick. 
  7. Fold in your walnuts and raisins. 
  8. Use a ¼ c measuring cup to fill your muffin tin. This recipe makes 12 muffins, but you can definitely make 9-10 larger ones. 
  9. Bake for  25 – 28 minutes, around 25 minutes, check to see if they are done with a toothpick, if it comes out clean, they are done. If there is still batter on the toothpick, leave in the oven for a few more minutes. 
  10. Let cool for a few minutes. Store in an airtight container for 4-5 days.

Optional frosting:

First make sure your cream cheese is softened/room temperature. Using a hand blender or stand mixer, mix together all frosting ingredients until it is smooth and creamy: cream cheese, maple syrup, vanilla, and cinnamon. Make sure your muffins have completely cooled before frosting them. I like to top my muffins with extra muffins. 

Superseed Pecan Banana Bread

This banana bread features an amazing banana bread mix made by Simple Mills. Simple Mills is a Chicago based brand that makes such a great and ever expanding line of cake and bread mixes, cookies, crackers, and frostings with REAL ingredients that you can actually pronounce.

When I first looked at the ingredient lists of a few different products I couldn’t believe how short and not confusing the ingredient list was. When I got my hands on the Banana Bread and Muffin Mix I was excited to spruce it up and enhance its already goodness! 

IMG_2107 (1)

I added some of the typical seeds I would throw into my other baked goods and topped it with an additional banana and pecans for that extra flavor! I followed the baking instructions from the box. I usually don’t cover my loafs with foil halfway through the cooking process, in fact I try not to open the oven at all while something is baking, but I figured they knew what they were talking about and they sure did! The loaf came out great when baked as instructed!

Superseed banana bread batter

IMG_2094

This loaf did take a little longer to cook but that can be expected since it was in the oven at 325F. I typically cook my baked goods at 350F, but again, I followed what the Simple Mills’ experts directed me to do! It was well worth the wait!

IMG_2113


Recipe

Ingredients

Dry Ingredients

  • 1 Simple Mills Banana Bread and Muffins box
  • ½ c ground flax meal  IMG_2110
  • 1 ½ tsp cinnamon
  • 1 tbsp hemp seeds 
  • 2 tbsp chopped pecans 

Wet Ingredients

  • 1 ripe banana
  • 2 eggs
  • ½ c + 2 tbsp unsweetened almond milk 
  • 2 tbsp melted coconut oil
  • 1 tsp vanilla extract 
  • 1 tbsp chia seeds

Toppings (optional)

  • 1 whole banana 
  • Pinch of coconut sugar 
  • 1 tbsp chopped pecans

Instructions

  1. Preheat your oven to 325F and line your loaf pan with parchment paper, set aside. 
  2. In a large bowl, mash your spotty ripe banana and then add in wet ingredients until well combined: eggs, almond milk, vanilla, and melted coconut oil. Mix in chia seeds and let sit for a couple minutes to let the chia seeds expand a bit. 
  3. In a medium size bowl, mix your dry ingredients together: Simple Mills mix, cinnamon, flax meal, cinnamon, and hemp seeds. Mix until well combined. 
  4. Add your dry ingredients to your wet ingredients. Mix until just well combined and there are no clumps of dry ingredients. Gently fold in chopped pecans. The batter will be a bit thick but that’s okay!
  5. Pour your batter into your prepared baking pan. I like to top mine with a sliced banana and a few more pecans. You can slice your banana lengthwise in half or into medallions – have fun with it! I also sprinkle a little bit of coconut sugar on the banana to help caramelize and deepen the flavor a bit more – completely optional! Feel free to add more chopped pecans on top. 
  6. Bake for 30 minutes and then take it out of the oven and cover it with aluminum foil (you can cover your foil with nonstick spray).
  7. Bake your loaf for an additional 25 minutes and then test it with a toothpick, if it comes out clean you are good to go, if it does not, bake for an additional 5 minutes. 
  8. After removing from the oven, uncover your loaf and let it cool for 15-20 minutes before slicing. Enjoy on its own or slather some peanut butter on it 🙂 

Notes

  1. If your almond milk is cold you may notice that your coconut oil solidifies a bit. For this recipe that should not be an issue but it can be avoided if you leave your almond milk and eggs out to reach room temperature!
  2. Room temperature eggs work best when baking but don’t worry if you don’t have time to let them sit out!
  3. Store in an airtight container and can keep in the fridge for 5 days (although unlikely there will be any leftovers past day two)!

Namibia Night!

A while back the random country generator pulled up Namibia! We were excited to see where this food adventure would lead us, low and behold – Namibia. We had previously cooked meals from other woldat141countries that I was somewhat familiar with in terms of food culture (Thailand & Argentina) but I really had no idea what the food scene was like in Namibia, or for that matter, I really did not know much about Namibia. Along with cooking up new meals and discovering new ingredients and flavors, learning about these countries’ histories, cultures, and traditions has been a great added benefit!

After browsing a few sites we saw that many of the recipes were meat heavy and called for different game meats that we do not have access to so we would have to improvise with what was available at our local grocery store. I also initially struggled a bit to find a vegetarian dish but I quickly found a sweet treat that I knew we would be making to end the night with – FAT CAKES! With a name like that I knew they would have to be good. They are basically just fried dough and reminded me a lot of New Orleans style beignets – super light and fluffy and dusted with powdered sugar!

IMG_0755

It was kind of ridiculous how easy these fat cakes were to make that in fact I have to actively forget how easy they are to keep me from making them a weekly event!


Menu

I really enjoyed making this meal. The recipes were straightforward and although they used ingredients I was familiar with, they were combined in new ways and left me feeling like I had added new attainable recipes into my rotation! 


Namibian Dinner is complete!

Tomato Sauce: I will say the tomato sauce flavors deepened the next day and it was great with scrambled eggs and toast. It reminded me of a shakshuka or huevos rancheros situation. The same goes for the soup, although I usually find soups to be tastier the next day as all the ingredients and spices come together. 

The Fat Cake recipes that I found were all pretty similar in ingredients and in the quantity they made! Since we were just cooking for two, I halved the recipe and it worked out great! I don’t recommend making more than what you will be having that day since they are fried and if you leave them overnight they may become too soggy/oily. 

With that said, I did have some dough leftover that I stored in the fridge overnight. The following morning I mixed in raisins, cinnamon and sugar into the dough and baked at 350F for 20-25 minutes and they came out like little tasty buns – delicious with jam and butter!

IMG_0754 (1)

Namibian Spicy Peanut Soup: This was so delicious and I loved that it included so many nutrient rich foods – pumpkin/squash, chickpeas, and kale (and of course my beloved peanut butter). I mostly followed along with what the recipe said but I used cubed butternut squash in place of pumpkin. You could totally substitute it with sweet potato as well. I added some of the oshifima into my soup and it went great with it. I loved how the oshifima soaked in some of the soup broth while it kept its thick consistency. This is definitely a filling soup or could be served as a delicious side.


Chocoflan aka The Impossible Cake

So just as an FYI I’m literally polishing off the last slice as a I write this and I’m tempted to go make another one! I made this one for Mother’s day and snuck a slice back home with me!


A little back story – I have always loved baking, ever since I was old enough I can remember being in the kitchen helping my grandma make different traditional Mexican sweet treats. When I was old enough to make them on my own, I decided I could be an entrepreneur and sell what I was making. I used to make these little pineapple empanadas (we call them turquitos– recipe coming soon!) and my aunt would sell them at her job. She would sell out every week and as a nine year old, I felt like I was living large with what I was making!

Flash forward a couple of years and I moved on to selling slices of Chocoflan! Now I remember one year being in my parents’ hometown in Mexico and selling it around to our neighbors and family! It was such a treat to not only see others enjoy what I made but then also to get paid for it – that year Chocoflan definitely supported my Mexican chip and candy needs!

So what exactly is Chocoflan you may be asking? 

Chocoflan or what some call “The Impossible Cake” is a decadent two-layered cake in which the bottom layer is rich chocolate cake and the top is a creamy flan. Usually you will find it topped with dulce de leche, cajeta ( cajeta is like dulce de leche but made from goat’s milk), simple caramel and/or pecans. 

Although the two batters are cooked together in the same pan, they perfectly separate in the oven. When the cake comes out the oven, you’ll see the chocolate cake is all on the top while the flan has settled on the bottom of the pan! The Chocoflan is slowly cooked in a water bath, which can sound intimidating, but is nothing to worry about! 

Now recently I made this cake once again and shared it with my family during Mother’s Day. It was just as good as I remembered it and the magical separation of the two batters is just as amazing each time. I hope you all enjoy a slice of this “Impossible Cake” and are able to share it with your loved one! This recipe easily serves 8 -10 with generous slices ☺


After prepping your pan, add a layer of dulce de leche!
Add your chocolate cake layer first, and then the flan mixture!
Enjoy your finished flan!

Before you make this recipe, make sure you read it all the way through and have the necessary kitchen tools: 

  • Bundt cake pan
  • Roasting pan for the water bath
  • Aluminum foil 
  • TIME – you will need at least 4 hours before you can enjoy this creation, you can definitely make this the night before! The cook time is 1hr 20minues and needs at least 3 hours to cool before you can remove it from the pan!

Recipe

Ingredients

Chocolate Cake Layer

  • 1 box of your favorite chocolate cake mix and the ingredients it calls for – I prefer Devil’s Food Cake
  • 1 tablespoon of instant coffee – I use regular Nescafe or Café de Olla – adds a nice cinnamon flavor!

Flan Layer

  • 2 whole eggs – room temperature
  • 2 egg whites – room temperature
  • 2 tsp vanilla
  • 1 can sweetened condensed milk (I prefer La Lechera brand)
  • 1 can evaporated milk (I prefer Carnation brand)
  • 6 oz cream cheese – softened to room temperature 
  • Pinch of salt

Toppings

  • ¼ c dulce de leche 
  • 3 tbsp chopped pecans
  • Optional: whipped cream, raspberries, strawberries, chocolate sauce

Instructions

  1. Preheat your oven to 350F and grease a bundt pan realllllyyyy well. Make sure to get all the nooks and crannies. I recommend using butter to prep your pan. Set aside. 
  2. If you’re using canned dulce de leche, pour ¼ cup into a microwave safe bowl and heat up for 30 seconds to melt it down a bit. Pour into the bottom of your prepared bundt pan. Set aside.
  3. Chocolate Layer – Prepare your chocolate cake mix as directed and mix in the instant coffee. Pour the chocolate batter into the prepared pan. 
  4. Flan Layer – Place all the flan ingredients into a high-speed blender until well combined. Pour the flan mixture on top of the chocolate batter. It is okay if you see them mix a little, they will completely separate when you bake it! That is where the magic happens! When it is done baking, you’ll see the flan is now on the bottom of the pan and the chocolate cake is on top so when you invert it the top layer will be the flan!
  5. Now carefully transfer your bundt pan into a large roasting pan to make your water bath.
  6. Cut off a piece of aluminum foil large enough to cover your bundt pan. To ensure the foil does not stick also spread some butter on it. Cover your bundt pan loosely.
  7. Now fill your roasting pan with about one inch of water. Transfer your roasting pan with the bundt pan in it, into the middle rack of your oven.
  8. Bake for 1 hour and 20 minutes. 
  9. After it is done baking, remove your bundt pan from the water bath and uncover it. Set aside to cool for at least three hours. DO NOT take it out of the pan until it has completely cooled.
  10. Once you’re ready to remove it, carefully run a knife along the pan to ensure it does not stick. Gently flip it onto your serving dish.
  11. Now if you’d like you can drizzle additional dulce de leche/caramel sauce (warm up it for 30-45 seconds to drizzle on top) and then add chopped pecans! This is also great with fresh whipped cream and raspberries!
  12. Store any leftovers in an air tight container in the refrigerator for up to 5 days.

flan


Lemon Blueberry Poppy Seed Bread

Looking for a spring time inspired recipe? Then this Lemon Blueberry Poppy Seed loaf is perfect for you! Loaded with fresh lemon juice, lemon zest and bursting blueberries, this is perfect for anyone looking for something bright and sweet but with a nice tart bite of lemon!

This recipe is also made gluten free by using a mix of Bob’s Red Mill Gluten Free Flour and almond flour. I have not tested other flours but I suspect you could use all-purpose flour as a direct substitute, however, do not sub in coconut flour. I also snuck in some chia seeds which mix perfectly with the poppy seeds while adding some extra nutrients into the mix.

If you want a lighter bread that’s less sweet, you could easily leave off the lemon glaze but in my opinion it adds the perfect amount of sweetness and ups the lemon flavor with another punch of fresh lemon juice and zest. Let me know what you think!


Recipe

Ingredients

Wet Ingredients

  • 2 eggs
  • 1/2 cup Greek Yogurt
  • 1 tsp vanilla  IMG_2010 (1)
  • 1/2 tsp almond extract
  • 1/2 tsp lemon extract (not lemon oil!)
  • Juice of 1 lemon (use fresh, not the bottled stuff)
  • Zest of 2 lemons
  • 1/3 cup honey 
  • 1 tsp chia seeds

Dry Ingredients

  • 1 tbsp poppy seeds 
  • 1 cup gluten free flour
  • 1 cup almond flour 
  • 3/4 tsp baking soda
  • 1/2 tsp baking powder
  • pinch of salt
  • 1/2 cup blueberries (fresh or frozen) – dusted in cornstarch or arrowroot powder 
  • slivered almonds – optional

Glaze

  • 1 cup powdered sugar
  • Juice of 1 lemon
  • Zest of 1/2 lemon

Instructions

  1. Preheat your oven to 350F and prepare your pan. I use this pan (9” x 5”)and line it with parchment paper (love this one from Thrive Market!). Set aside.
  2. In a large bowl mix together your wet ingredients until well combined: eggs, Greek yogurt, vanilla extract, lemon extract, almond extract, lemon juice, and honey. Once everything is combined, mix in chia seeds and let sit for 2 minutes. 
  3. In a separate bowl mix together your dry ingredients: gluten free flour, almond flour, baking soda, baking powder, salt, and poppy seeds. 
  4. Carefully fold in your dry ingredients into your wet ingredients. You just want to mix until well combined – do not over mix!
  5. Cover your blueberries with a thin layer of cornstarch and then gently fold them into your batter. 
  6. Pour into your prepared loaf tin and bake for 35 minutes. Check the loaf with a toothpick and if it comes out clean take out to cool. If the toothpick comes out wet, bake for an additional five minutes. 
  7. While your loaf cools, prepare your glaze. Mix together your ingredients until you have a smooth glaze. If you want your glaze thinner, you can add more lemon juice or a teaspoon of water. For a thicker glaze, add less lemon juice or more powdered sugar. 
  8. Once your loaf cools, add the glaze and add optional almond slivers if you’d like.

Notes:

  1. This is also totally delicious without the glaze!
  2. If you’re adding the slivered almonds do it while the glaze is still wet so they stick to your loaf. 
  3. If you are using frozen blueberries I recommend giving them a rinse for a minute or so and then drying them with a paper towel. This helps prevent them from bleeding through the loaf and preserves the nice yellow color of the lemon loaf.
  4. I think this would also be delicious if you swap out blueberries for raspberries! 

Recipe adapted from Ambitious Kitchen

Australia Night

Australia has been on my travel list since the third grade when I picked it to do an extensive presentation on it. It was absolutely devastating seeing as the wildfires tore across the country just a few months ago.

When the random country generator pulled up Australia I was so excited, however I 10981__32785.1524094492quickly realized I did not know very much about Australian cuisine besides knowing that Vegemite is an Australian staple. After doing some research, I realized that Australia is somewhat like America, it is strongly influenced by lots of the different cultures that make up the country! It was exciting to see but it made it difficult to pick a meal that represented Australia. 

Ultimately we settled on a menu, in which I was so excited to make an Australian dessert staple – Pavlova!

Pavlova is something I had seen so many times being made on the Great British Baking Show but I never thought I would be making one and it intimidated me so much. A pavlova is delicate dessert made with whipped egg whites that is crispy on the outside and soft and pillowy in the inside , somewhat like a marshmallow but better, and it’s a perfect dessert for anyone looking for something that’s gluten free!


Menuimg_1660

Overall it was a great meal! The tofu and pineapple skewers were delicious and made for great leftovers as the bbq sauce intensified in flavor. As a vegetarian I did not have the rolls or pie, but they were also a success, no complaints at this dinner table! We used puff pastry on both and the egg wash gave them such a great golden color!


Kale Haloumi Salad Ingredients: 
  • Bunch of lacinato kale massaged with lemon juiceIMG_1662
  • 1 roasted sweet potato -cubed
  • 2 tbsp sunflower seeds
  • 2 tbsp cranberries
  • Haloumi cheese – as much as you’d like! 
  • Dill Garlicky Greek Yogurt Dressing/dressing of your choice 

The kale salad’s star is definitely the haloumi cheese! It was a little pricey but SO WORTH IT! The way to prepare it is simply heat up a pan and once it’s hot place the haloumi slices and you’ll see it sizzle. After a minute or so turn it over and you’ll see it is nice and crisp. Let it crisp up on the other side and enjoy while it is nice and hot! It’s so good!


Pavlova:

I followed the recipes linked above for the pavlovas, however I opted for making six mini pavlovas rather than one large one. This did cut down on the baking time and made it easier to share!

I topped them with the lemon curd recipe and fresh strawberries and blueberries. A light dusting of powdered sugar finished off the pavlovas! FYI I had some lemon curd leftover and it was great on french toast and mixed in with greek yogurt. I also opted for freezing some to see how it would hold and it was still tasty!

Easy Quick Bagels

This was my first attempt at making bagels and I was pretty pleased! Now here me out, these aren’t going to taste like your New York Deli bagels, they are in on way made the same nor are they supposed to be exactly like your typical chewy bagel. BUT with that said, they make a great bagel sandwich, can successful satisfy those bagel cravings, delicious sweet or savory and the best part is they are SO EASY!!!

I made a couple “cinnamon raisin” which were great! I’m not a big cream cheese fan (I’m weird, I know) so I had mine with peanut butter and banana fore breakfast. The others were topped with sesame seeds and they were great for veggie packed sandwiches. 

img_5260

I made this sammie right here on the toasted sesame bagel with hummus, roasted beets, carrots, cucumber, avocado and a layer of mixed greens! 

Another great way to have these would be to recreate the classic childhood favorite — pizza bagel bites!


Recipe

Ingredients

  • 1 cup (5 oz) all purpose flour
  • 2 tsp baking powder
  • 1/2 tsp salt 
  • 1 cup PLAIN greek yogurt ( Fage is great for this!)
  • 1 egg white 

Optional Toppings: sesame seeds, everything but the bagel seasoning, cinnamon sugar, poppy seeds, Parmesan 


  1. Preheat your oven to 375F and prep your baking sheet with parchment paper or a silicone mat and spray with non-stick spray (can’t be too safe!)
  2. In a bowl mix your dry ingredients: flour, baking powder and salt.
  3. Add in your yogurt to the dry ingredients until well combined. This wont be one smooth dough, there will be bigger pieces that come together while the rest looks a bit crumbly. 
  4. On a clean counter top, dust a little bit of flour. Dump your dough onto the floured surface and knead for a few rounds. You will know you are done kneading when the dough is still a little sticky but does not stick to your hands. 
  5. Split the dough into four balls. Roll each ball out into a rope and then pinch the ends together to make the shape of your bagel. 
  6. Place your four bagels onto your prepared baking sheet.
  7. In a small bowl whisk your egg white for the egg wash. Brush each bagel top with the egg wash and now add any of the toppings you would like – sesame seeds, everything but the bagel seasoning, cinnamon, etc. 
  8. Place your bagels in the oven for 25 minutes. 
  9. Let your bagels cool for 15-20 minutes before slicing and enjoy!

Notes:

1. If you do not have a scale to measure out your flour, make sure you are measuring out one cup correctly.

  • Rather than scooping out flour with your measuring cup from the flour bag, you should first fluff the flour with your spoon. 
  • Person using a knife to even off the top of a measuring cup filled with flourThen scoop out flour with a spoon from the bag and put into your measuring cup until it is full.
  • Lastly level it off with a knife. This will ensure you do not over pack your measuring cup!


Three-ish Ingredient Pancakes

So I’m calling this a three-ish ingredient recipe because you could probably get away with just the banana, eggs, and oats but I like to add a few more for more flavor and fluff. The vanilla and cinnamon compliment the banana so well and the baking powder helps add some extra “uhhmff” and fluff to the pancake! The flax also helps keep these guys together and provide some great nutrients like omega-3s, fiber, and lignans. You can learn more about the benefits of flaxseed here. 


Recipe

Ingredients

  • 2 eggs
  • 1 banana
  • 1/3 c. of rolled oats
  • 1 ½ tsp cinnamon
  • 1 tsp flax meal
  • 1 tsp vanilla
  • 1 1/2 tsp baking powder
  • oil for pan

Optional toppings: banana slices, berries, nut butter, maple syrup


Screenshot 2020-05-02 at 11.26.16 PM
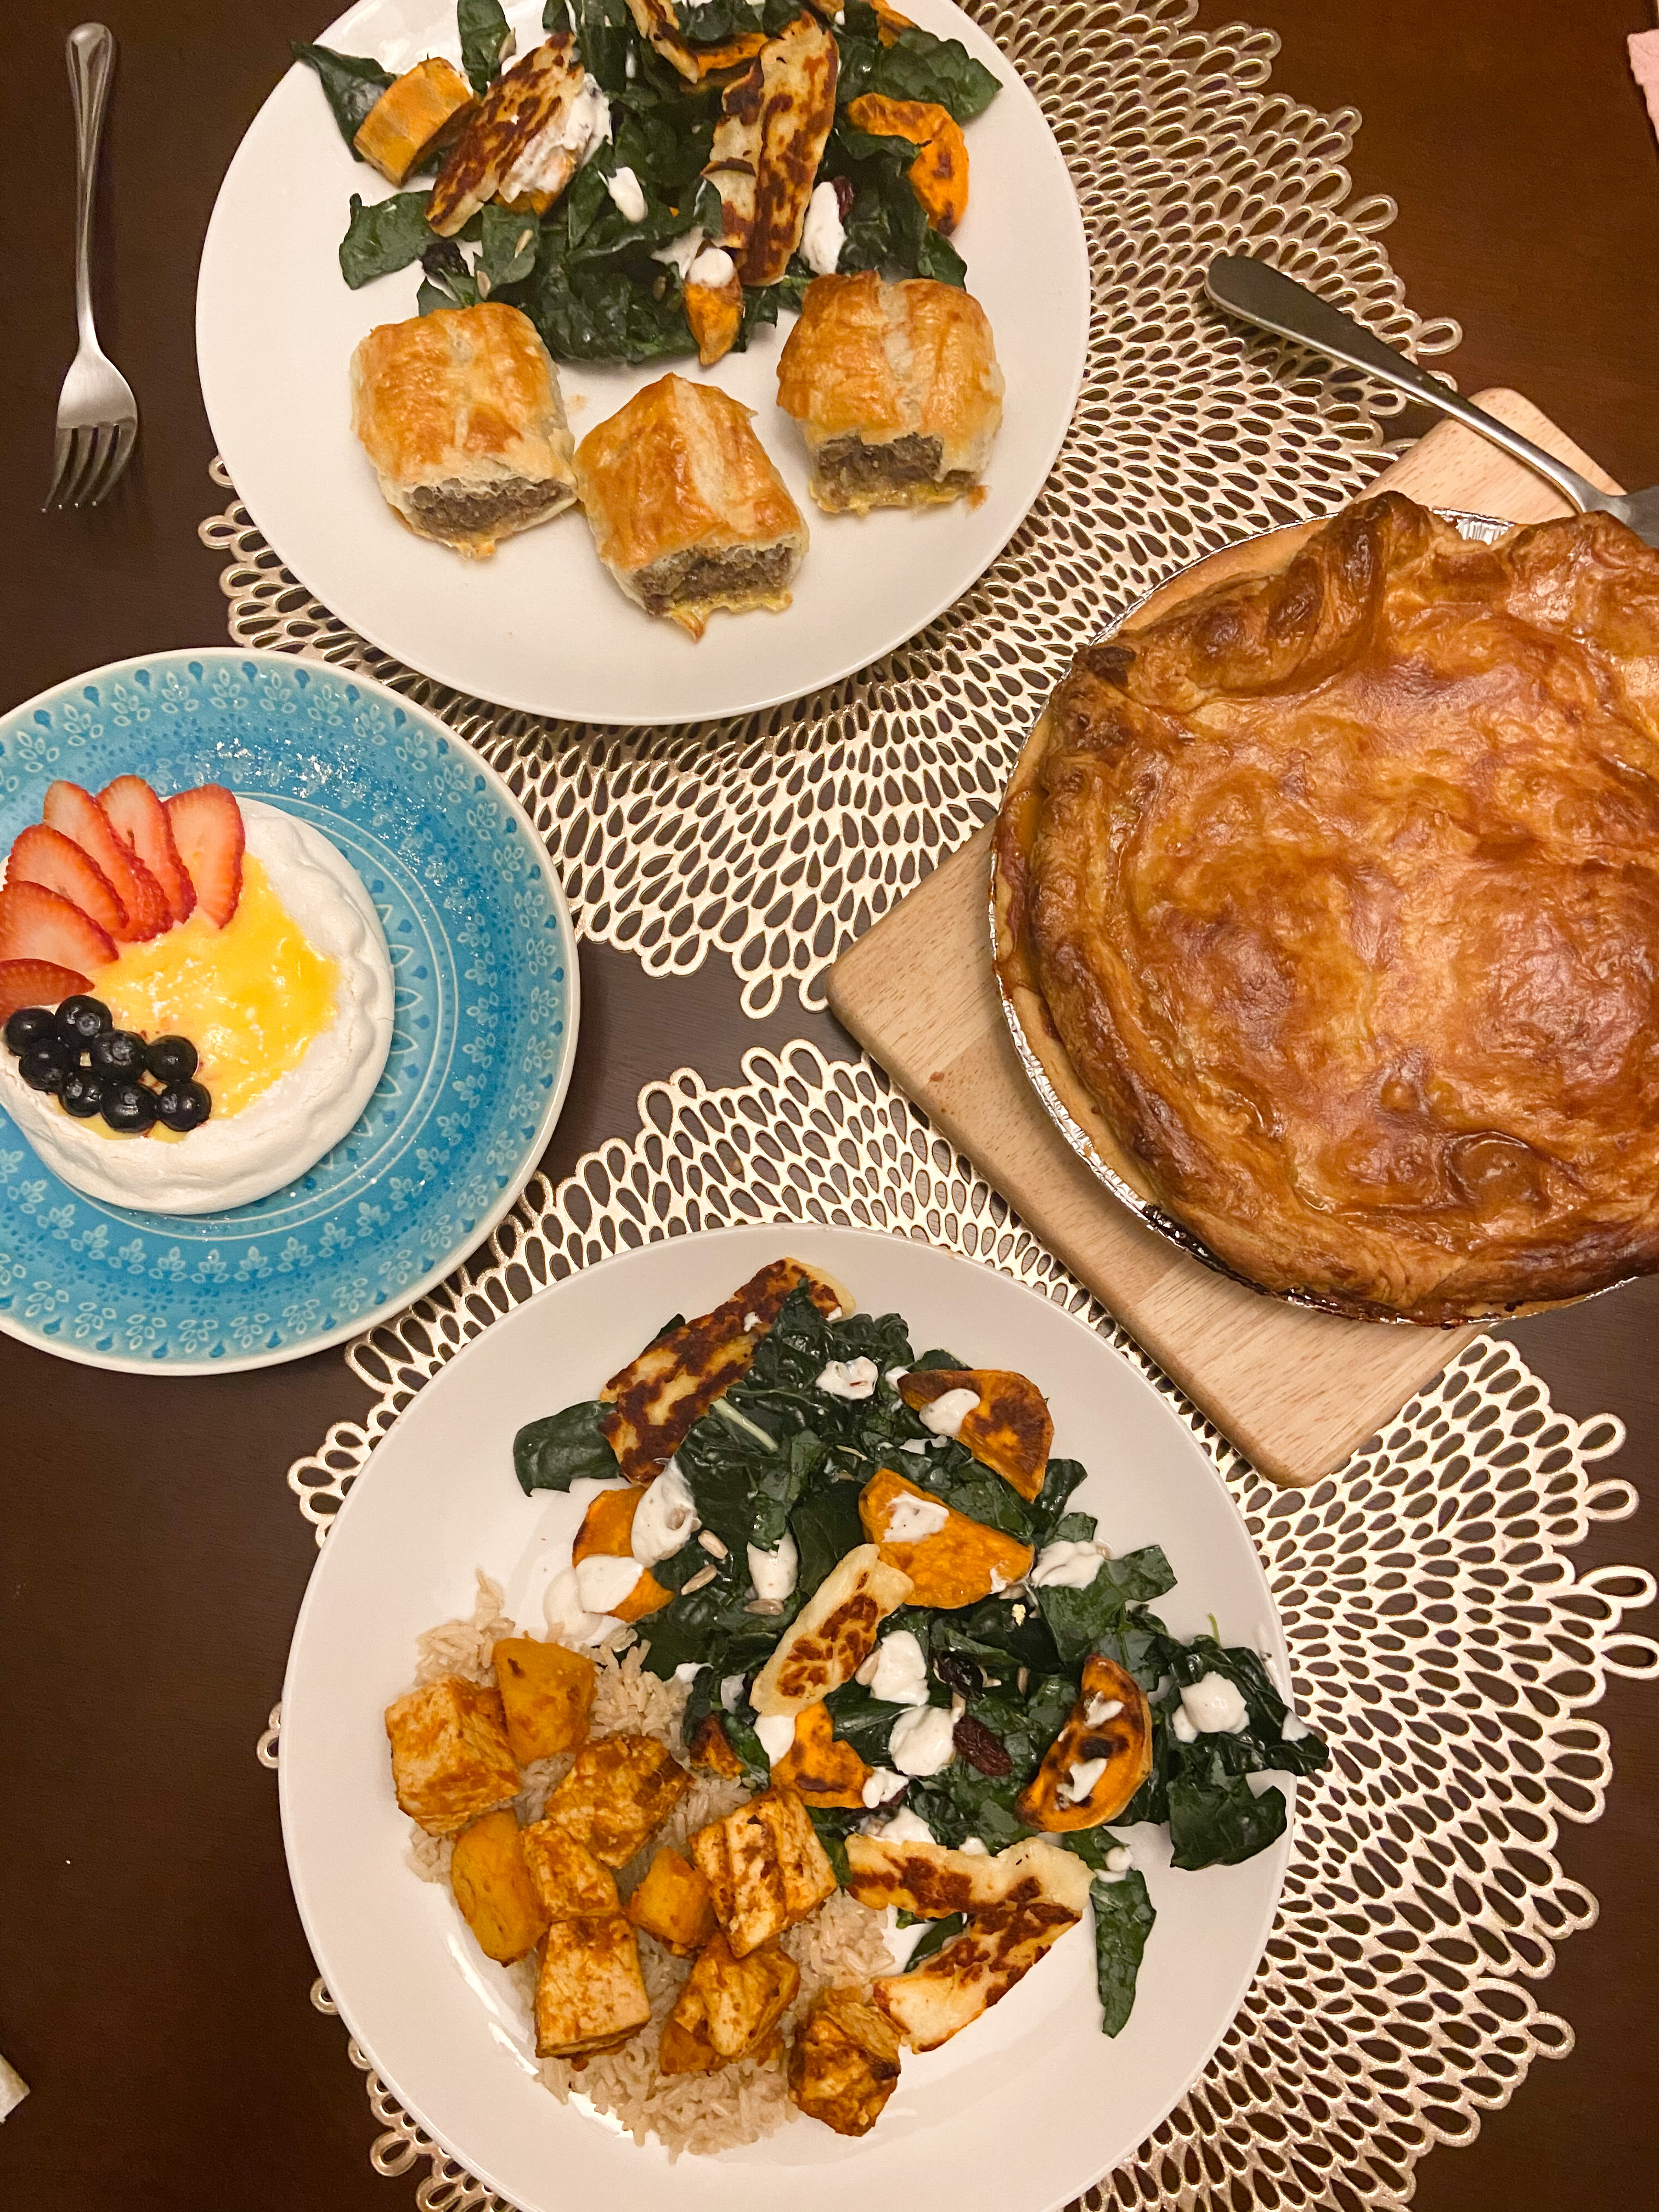
1. Place all ingredients (except for the oil) into a high speed blender. After all the ingredients are well combined, let the batter sit for a 3-5 minutes.

2. While the batter rests, heat up a nonstick pan on low-medium heat. Add a spray of olive or coconut oil and pour the batter in (about 3-4 tablespoons).

3. The pancakes will be ready to flip after a couple minutes- once you see bubbles forming on the surface of the batter you will know it is ready to flip! If you notice your flipped pancake is too dark, you can turn down the heat.

4. Recipe yields about 4-6 medium size pancakes. Top with your favorite fruits, nuts, peanut butters and maple syrup!

Notes:

  1. A thin spatula works best for flipping the pancakes! 
  2. These can also be stored in the fridge for 3 days or frozen, simply pop them in the microwave and enjoy!
  3. This is a relatively delicate pancake recipe so I do not recommend adding in mix-is into the batter but you can go all out with the toppings!


Cinnamon Swirl Banana Bread

This Cinnamon Swirl Banana Bread has become a favorite! After making it twice in one week, I know it’s here to stay! I have a theory this would make great French Toast but I can’t manage to keep in the house long enough to try! I’ll keep ya’ll posted if that ever happens! 

Recipe

Ingredients 

  • 2 ripe bananas (the spottier/riper the better)
  • 2 eggs                                                                                  IMG_1777
  • 2 tbsp of olive or melted coconut oil
  • 1/4 c. almond milk
  • 1/4 c. maple syrup
  • 1 tbsp coconut palm sugar
  • 1 tsp vanilla extract
  • 1 c. oat flour
  • 1 c. gluten free flour (I like Bob’s Red Mill 1-1 GF mix!)
  • 1/4 c. almond flour
  • 1 tbsp cinnamon 
  • 2 tsp baking powder 

Cinnamon Swirl

  • 1/4 c. unsweetened applesauce
  • 1/4 c. coconut palm sugar
  • 1 tbsp cinnamon

Instructions

  1. Preheat your oven to 350F and prepare your pan. I use this pan (9” x 5”)and line it with parchment paper (love this one from Thrive Market!). Set aside.
  2. In a large bowl mash your bananas – you can use a fork here or let them go for a few minutes in your stand mixer. Then add the rest of your wet ingredients: eggs, oil, almond milk, maple syrup, and vanilla. Mix until all ingredients are well combined. Then add in coconut sugar and mix well. 
  3. In a separate bowl add in all your dry ingredients: oat flour, gf flour, almond flour, baking powder, and cinnamon. Slowly add in your dry ingredients to your wet ingredients and mix until just combined! You do not want to over mix the batter. 
  4. In your now empty bowl you can mix together the ingredients for the cinnamon swirl: applesauce, cinnamon, and coconut sugar. 
  5. Pour half your batter into your prepared pan and then top it with half your cinnamon sugar mixture. Swirl it with a knife gently. Pour the remainder of your batter and smooth it out. Then add the rest of your cinnamon topping. I like to add it in dollops and then run my knife through it gently to make a nice swirl on top.
  6. Place your pan in the oven and bake for 40-45 minutes, until a toothpick comes out clean!

Notes:

  1. If your almond milk is cold you may notice that your coconut oil solidifies a bit. For this recipe that should not be an issue but it can be avoided if you leave your almond milk and eggs out to reach room temperature!
  2. Room temperature eggs work best when baking but don’t worry if you don’t have time to let them sit out!